Snakebyte SB911194
Snakebyte Gamepad S Pro Wireless Controller User Manual
மாடல்: SB911194
1. அறிமுகம்
The Snakebyte Gamepad S Pro is a wireless controller designed for use with Nintendo Switch, Switch Lite, and Switch OLED consoles. It offers a console-style gaming experience with features such as dual precision analog sticks, dual rumble motors for immersive feedback, and a dedicated Capture button for recording gameplay moments. The controller connects via Bluetooth 3.0, aiming to provide a low-latency gaming experience. It also includes an assignable turbo feature and charges via an included USB-C cable.

படம் 1: முன் view of the Snakebyte Gamepad S Pro Controller.
2 அமைவு
2.1 கன்ட்ரோலரை சார்ஜ் செய்தல்
Before initial use, fully charge the controller. Connect the included 5.9 ft (1.8 m) USB-C cable to the controller's charging port and the other end to a USB power source (e.g., Nintendo Switch dock, USB wall adapter, or computer USB port). The charging indicator lights on the controller will provide status feedback.
2.2 நிண்டெண்டோ ஸ்விட்ச்சுடன் இணைத்தல்
To pair the Snakebyte Gamepad S Pro with your Nintendo Switch console:
- உங்கள் நிண்டெண்டோ ஸ்விட்ச் கன்சோல் இயக்கப்பட்டு சமீபத்திய சிஸ்டம் மென்பொருளுக்குப் புதுப்பிக்கப்பட்டுள்ளதா என்பதை உறுதிப்படுத்திக் கொள்ளுங்கள்.
- முகப்பு மெனுவிலிருந்து, தேர்ந்தெடுக்கவும் "கட்டுப்பாட்டாளர்கள்", பின்னர் "Change Grip/Order".
- On the Snakebyte Gamepad S Pro, press and hold the முகப்பு பொத்தான் (house icon) and the Y பொத்தான் simultaneously for approximately 5 seconds. The indicator lights on the controller will begin to flash rapidly.
- Once the controller is successfully paired, the player indicator light(s) on the bottom of the controller will illuminate solid.
The controller is compatible with Nintendo Switch, Switch OLED, and Switch Lite models.

Figure 2: The Gamepad S Pro is compatible with Nintendo Switch, Switch OLED, and Switch Lite.
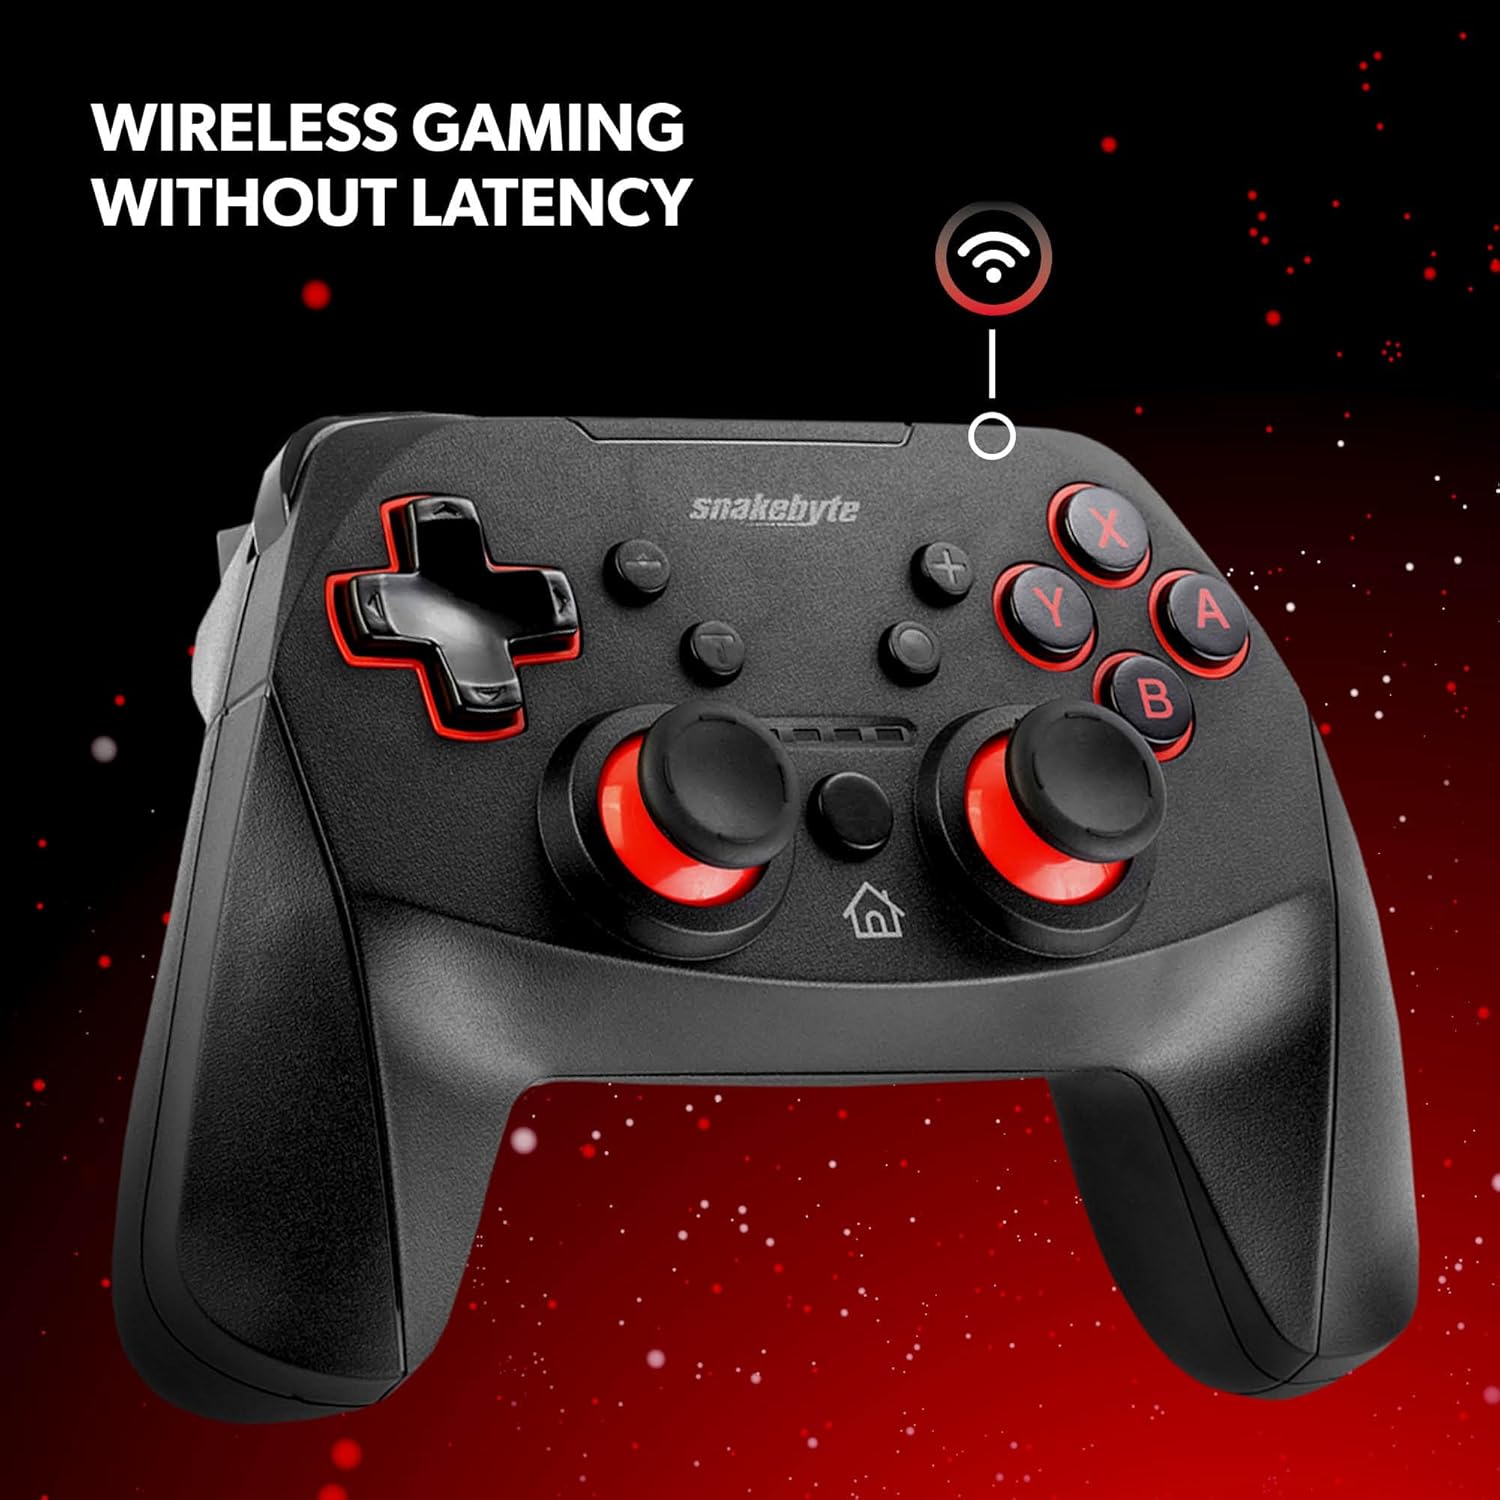
Figure 3: The controller offers wireless connectivity for gaming without latency.
3. கட்டுப்படுத்தியை இயக்குதல்
3.1 பட்டன் தளவமைப்பு மற்றும் செயல்பாடுகள்
- A/B/X/Y பொத்தான்கள்: நிலையான செயல் பொத்தான்கள்.
- டி-பேட்: திசை உள்ளீடு.
- இடது/வலது அனலாக் குச்சிகள்: துல்லியமான இயக்கம் மற்றும் கேமரா கட்டுப்பாட்டிற்கு.
- எல்/ஆர் பொத்தான்கள்: தோள்பட்டை பொத்தான்கள்.
- ZL/ZR பொத்தான்கள்: Trigger buttons.
- முகப்பு பொத்தான்: Returns to the HOME Menu.
- பிடிப்பு பட்டன்: Saves screenshots or video clips of gameplay.
- பிளஸ் (+) / மைனஸ் (-) பொத்தான்கள்: Equivalent to Start/Select or Menu buttons.
3.2 Dual Rumble Vibration
The controller features dual rumble motors that provide haptic feedback, enhancing immersion during gameplay. The intensity of the vibration is determined by the game.
3.3 Assignable Turbo Feature
The assignable turbo feature allows a button to be pressed repeatedly with a single hold. Consult the controller's specific instructions (often included in the packaging or on the manufacturer's website) for details on how to assign and activate the turbo function for desired buttons.
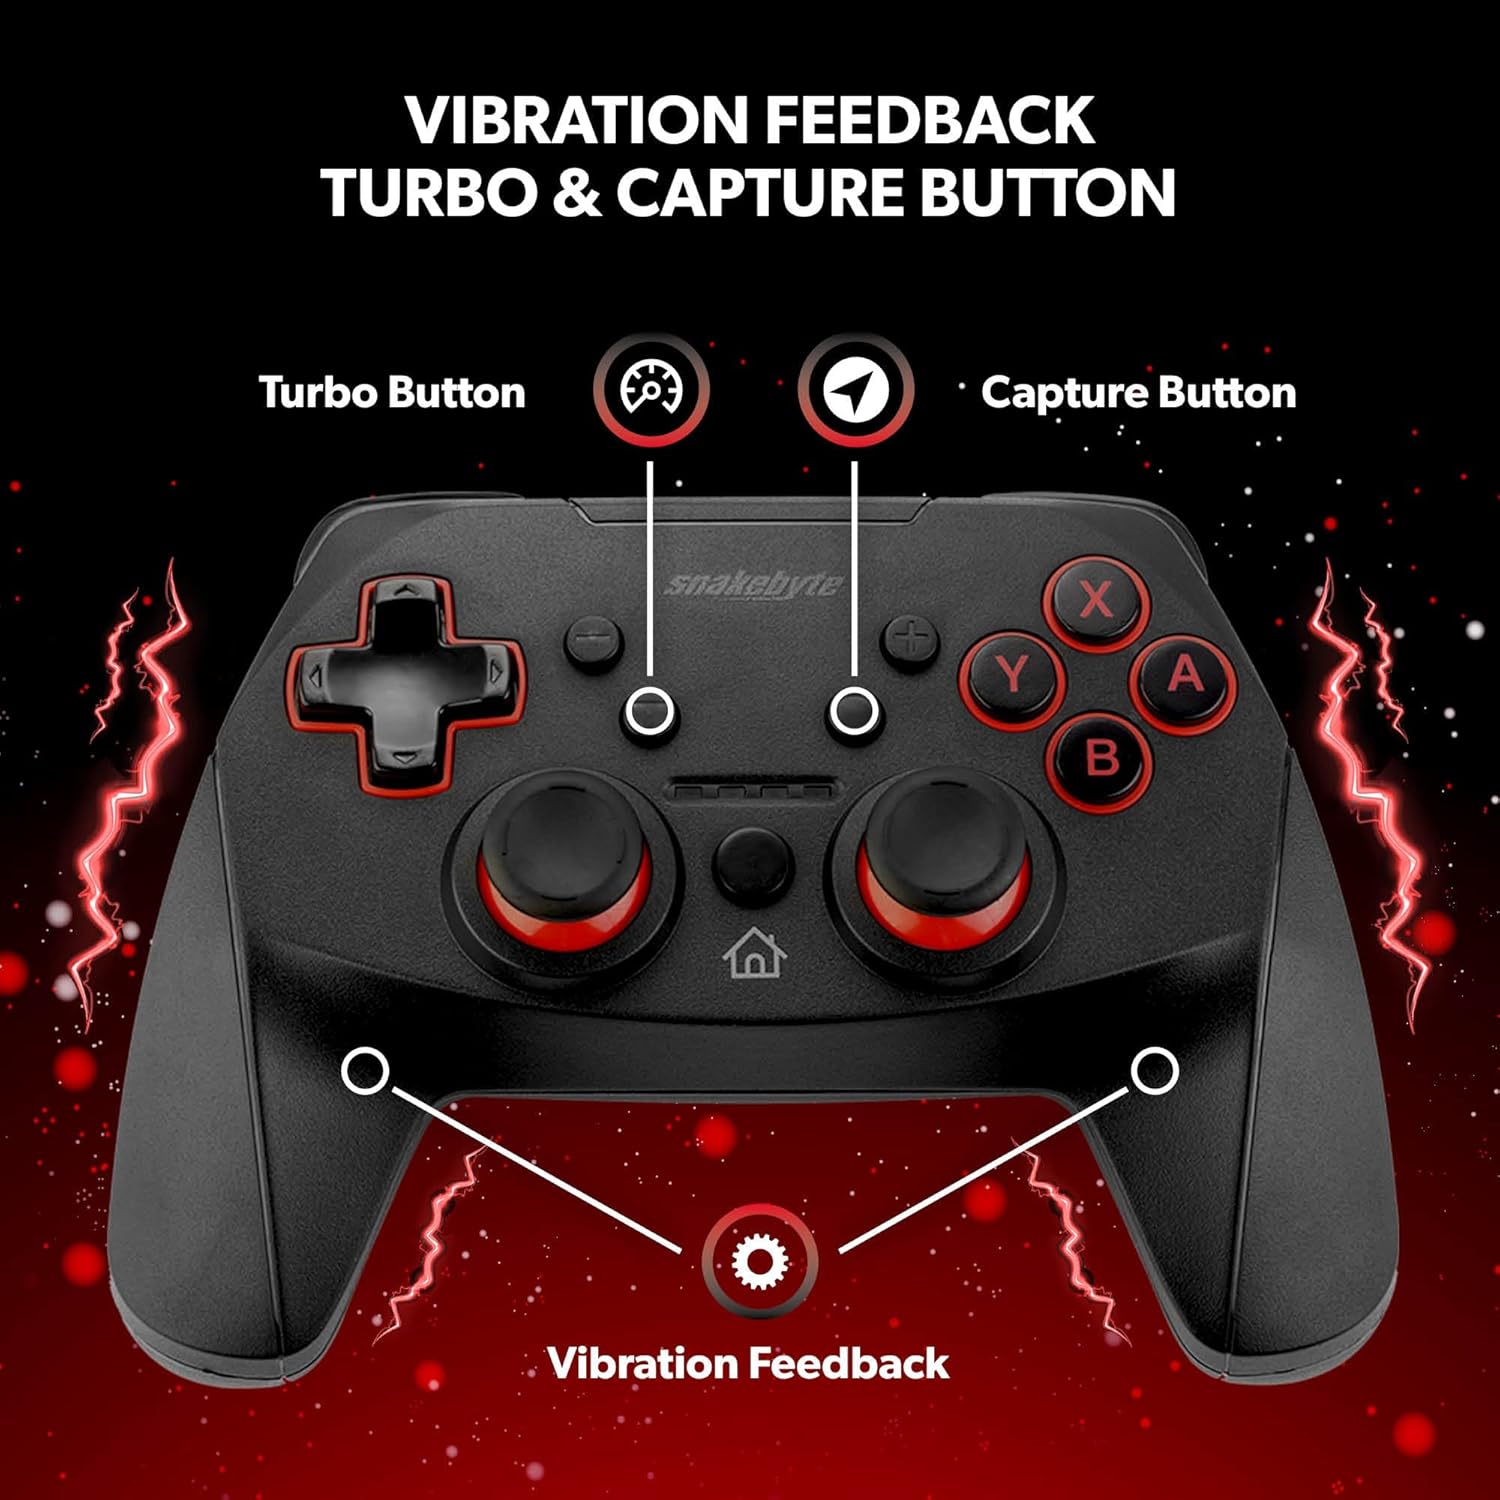
Figure 4: Key features including Turbo Button, Capture Button, and Vibration Feedback.
3.4 ஆடியோ ஜாக்
The controller is equipped with an audio jack, allowing you to connect a compatible headset for in-game audio and communication (if supported by the game and console settings).

Figure 5: Detail of the controller's audio jack.
4. பராமரிப்பு
4.1 சுத்தம் செய்தல்
கட்டுப்படுத்தியைச் சுத்தம் செய்ய, மென்மையான, உலர்ந்த துணியைப் பயன்படுத்தவும். பிடிவாதமான அழுக்குக்கு, சிறிது dampen the cloth with water. Avoid using harsh chemicals, abrasive cleaners, or solvents, as these can damage the controller's surface and internal components.
4.2 பேட்டரி பராமரிப்பு
The controller contains a rechargeable Lithium Metal battery. To prolong battery life:
- பேட்டரியை அடிக்கடி முழுமையாக சார்ஜ் செய்வதைத் தவிர்க்கவும்.
- கட்டுப்படுத்தியை நீண்ட நேரம் பயன்படுத்தாதபோது குளிர்ந்த, உலர்ந்த இடத்தில் சேமிக்கவும்.
- கட்டுப்படுத்தியை தீவிர வெப்பநிலைக்கு வெளிப்படுத்த வேண்டாம்.
5. சரிசெய்தல்
- Controller not pairing or disconnecting frequently:
- கட்டுப்படுத்தி முழுமையாக சார்ஜ் செய்யப்பட்டுள்ளதா என்பதை உறுதிப்படுத்தவும்.
- Verify the pairing steps (Home + Y buttons) are followed correctly.
- Move closer to the Nintendo Switch console to ensure a strong Bluetooth connection.
- Check for any firmware updates for the controller on the official Snakebyte website, as updates can resolve connectivity issues.
- Restart both the Nintendo Switch console and the controller.
- Buttons or joysticks are unresponsive or sticking:
- Power off the controller and then power it back on.
- Ensure no debris is lodged around the buttons or joysticks. Clean as per maintenance instructions.
- Controller does not wake the Nintendo Switch from standby:
- This controller may not support waking the console from standby mode. Power on the console manually using the power button on the console itself.
- No Gyro Sensor:
- Please note that this controller does not include a gyro sensor. Games requiring motion controls or fine aiming adjustments via tilting will not function as intended with this controller.
6. விவரக்குறிப்புகள்
| மாதிரி எண் | SB911194 |
| பிராண்ட் | Snakebyte |
| இணைப்பு | புளூடூத் 3.0 |
| இணக்கத்தன்மை | நிண்டெண்டோ ஸ்விட்ச், ஸ்விட்ச் லைட், ஸ்விட்ச் OLED |
| பரிமாணங்கள் (L x W x H) | 3.94 x 2.36 x 5.51 அங்குலம் |
| பொருளின் எடை | 8.47 அவுன்ஸ் (240 கிராம்) |
| பேட்டரி வகை | 1 லித்தியம் மெட்டல் பேட்டரி (சேர்க்கப்பட்டுள்ளது) |
| சார்ஜிங் கேபிள் நீளம் | 5.9 அடி (1.8 மீ) |
| சிறப்பு அம்சங்கள் | Dual Motor Vibration, Assignable Turbo, Capture Button, Audio Jack |

Figure 6: The controller is designed for absolute durability.
7. உத்தரவாதம் மற்றும் ஆதரவு
For detailed warranty information, please refer to the warranty card included with your product packaging or visit the official Snakebyte website. For technical support, product registration, or further inquiries, please contact Snakebyte customer service through their official channels.
Official Snakebyte Webதளம்: www.snakebyte.com
Ask a question about this manual
Ask about setup, troubleshooting, compatibility, parts, safety, or missing instructions. Manuals+ will review the question and use this page’s manual context to help answer it.