
அறிமுகம்
This manual provides instructions for the setup, operation, maintenance, and troubleshooting of your Rampage KM-RX9 CYPHER Gaming Keyboard and Mouse Set. This set includes a USB wired keyboard with rainbow ground illumination and a wired gaming mouse. Please read this manual thoroughly before using the product to ensure proper functionality and longevity.
பாதுகாப்பு தகவல்
- சாதனத்தை திரவங்கள் மற்றும் அதிகப்படியான ஈரப்பதத்திலிருந்து விலக்கி வைக்கவும்.
- சாதனத்தை தீவிர வெப்பநிலைக்கு வெளிப்படுத்த வேண்டாம்.
- வலுவான தாக்கங்களுக்கு சாதனத்தை கைவிடுவதையோ அல்லது உட்படுத்துவதையோ தவிர்க்கவும்.
- சாதனத்தை நீங்களே பிரிக்கவோ அல்லது சரிசெய்யவோ முயற்சிக்காதீர்கள். தகுதிவாய்ந்த சேவை பணியாளர்களைப் பார்க்கவும்.
- இணக்கமான USB போர்ட்களுடன் மட்டும் பயன்படுத்தவும்.
தொகுப்பு உள்ளடக்கங்கள்
அன்பாக்சிங் செய்யும்போது தொகுப்பு உள்ளடக்கங்களைச் சரிபார்க்கவும். நிலையான தொகுப்பில் பின்வருவன அடங்கும்:
- Rampage KM-RX9 CYPHER Gaming Keyboard
- Rampage KM-RX9 CYPHER Gaming Mouse
- பயனர் கையேடு (இந்த ஆவணம்)
அமைவு
Follow these steps to set up your Rampage KM-RX9 CYPHER Gaming Keyboard and Mouse Set:
- விசைப்பலகையை இணைக்கவும்: Locate an available USB port on your computer. Plug the USB connector of the Rampage KM-RX9 keyboard into the USB port.
- சுட்டியை இணைக்கவும்: Locate another available USB port on your computer. Plug the USB connector of the Rampage KM-RX9 mouse into the USB port.
- இயக்கி நிறுவல்: The keyboard and mouse are typically plug-and-play devices. Your operating system (Windows, macOS, Linux) should automatically detect and install the necessary drivers. This process may take a few moments.
- சரிபார்ப்பு: Once drivers are installed, the keyboard and mouse should be ready for use. Test by typing on the keyboard and moving/clicking the mouse. The keyboard's rainbow illumination should activate automatically.
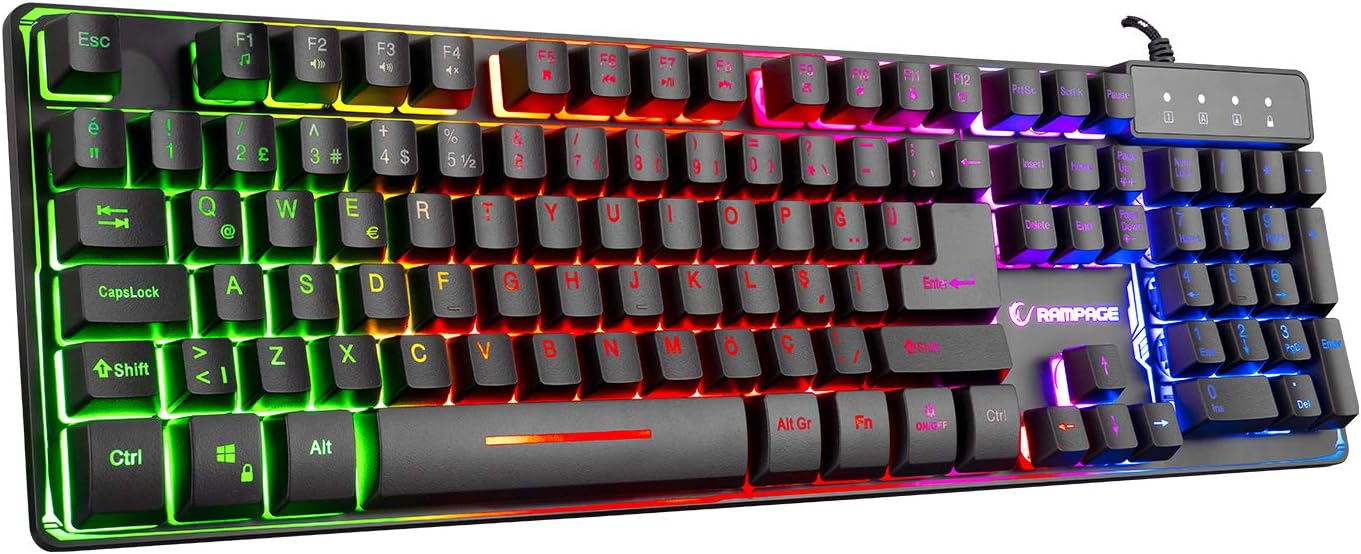
படம் 1: மேல் view of the Rampage KM-RX9 CYPHER Gaming Keyboard, showcasing its full QWERTY layout and vibrant rainbow backlighting.
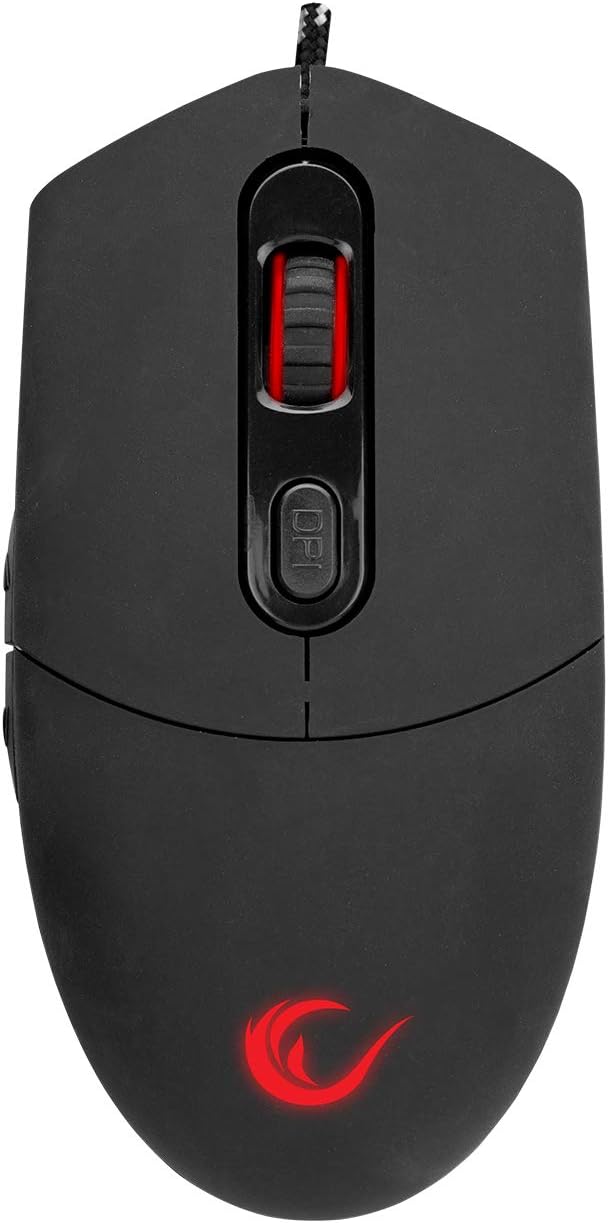
படம் 2: மேல் view of the Rampage KM-RX9 CYPHER Gaming Mouse, featuring the scroll wheel and DPI adjustment button.
விசைப்பலகையை இயக்குதல்
அடிப்படை செயல்பாடுகள்
- தட்டச்சு: The keyboard features a standard QWERTY layout for general typing and gaming.
- செயல்பாட்டு விசைகள் (F1-F12): These keys may have secondary multimedia or system functions when pressed in combination with the Fn key. Refer to the keycap legends for specific functions (e.g., volume control, media playback).
வெளிச்சம் கட்டுப்பாடு
The KM-RX9 keyboard features rainbow ground illumination. Specific controls for lighting modes or brightness are typically managed via dedicated keys or key combinations:
- Look for keys with light bulb icons or specific 'Fn' key combinations (e.g., Fn + உருள் பூட்டு or Fn + Page Up/Down) to cycle through lighting effects or adjust brightness.
- The illumination is designed to provide a consistent rainbow effect across the keyboard's base.
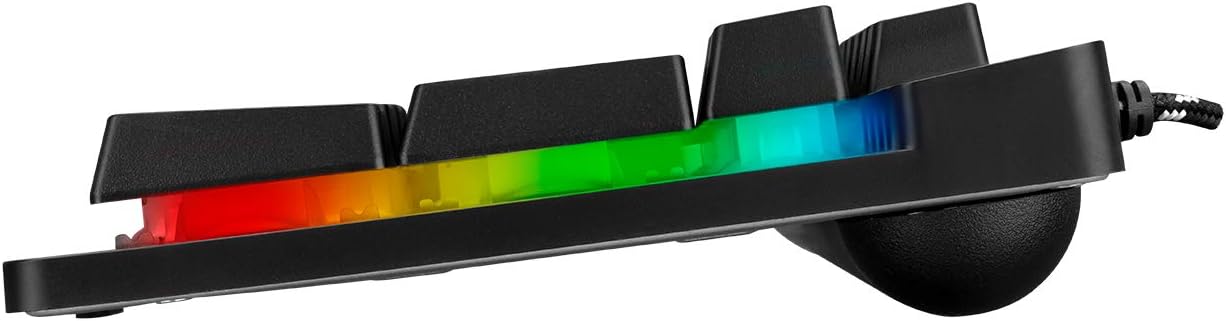
படம் 3: பக்கவாட்டு சார்புfile of the Rampage KM-RX9 keyboard, illustrating the distinct rainbow ground illumination effect.
சுட்டியை இயக்குதல்
அடிப்படை செயல்பாடுகள்
- இடது கிளிக்: முதன்மை செயல் பொத்தான்.
- வலது கிளிக்: இரண்டாம் நிலை செயல் பொத்தான், பொதுவாக சூழல் மெனுக்களுக்கு.
- சுருள் சக்கரம்: ஆவணங்களை உருட்டுவதற்குப் பயன்படுத்தப்படுகிறது மற்றும் web பக்கங்கள். நடு கிளிக் பொத்தானாகவும் செயல்பட முடியும்.
- பக்க பொத்தான்கள்: The mouse features additional side buttons, commonly used for forward/backward navigation in web browsers or programmable for in-game actions.
DPI சரிசெய்தல்
The mouse includes a DPI (Dots Per Inch) adjustment button, usually located near the scroll wheel. Pressing this button cycles through different sensitivity levels, allowing you to adjust cursor speed on the fly to suit your preferences or game requirements.
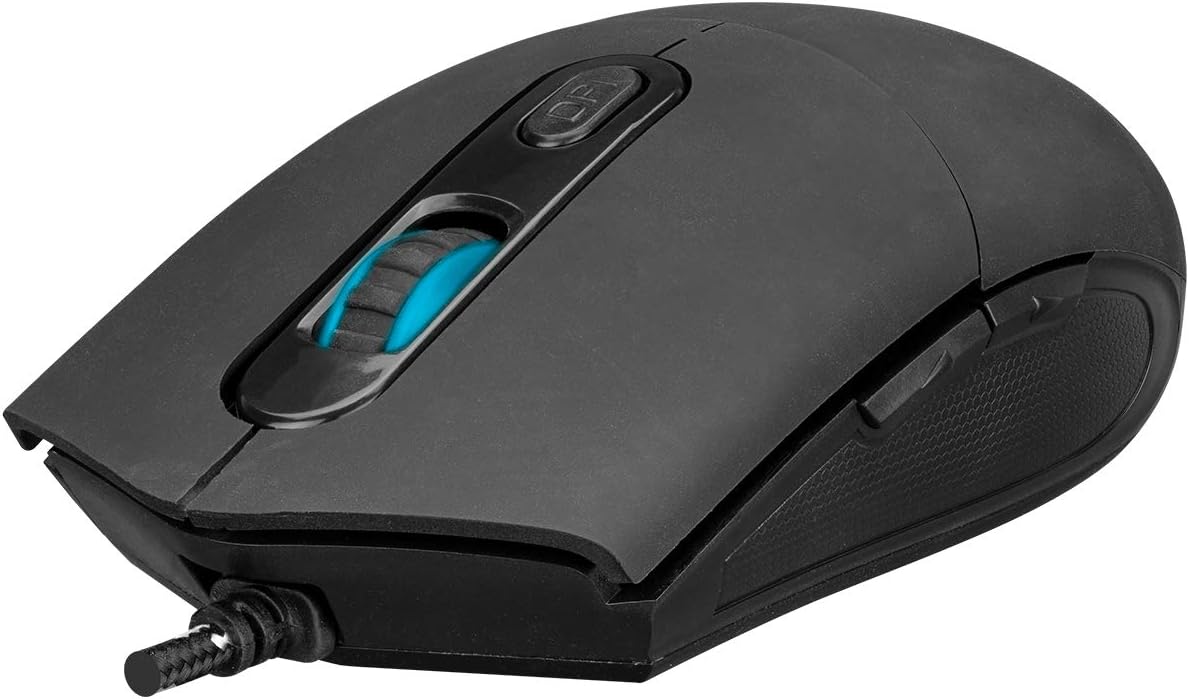
படம் 4: கோணல் view of the Rampage KM-RX9 mouse, highlighting the scroll wheel and the DPI adjustment button.

படம் 5: பக்கம் view of the Rampage KM-RX9 mouse, showcasing its ergonomic design and textured grip for enhanced control.
பராமரிப்பு
Proper maintenance ensures the longevity and performance of your gaming set:
- விசைப்பலகையை சுத்தம் செய்தல்: Use a soft, dry cloth to wipe down the keyboard surface. For dust between keys, use compressed air. Do not use harsh chemicals or abrasive cleaners.
- சுட்டியை சுத்தம் செய்தல்: மவுஸ் மேற்பரப்பை மென்மையான, சற்று d-துணியால் துடைக்கவும்.amp cloth. Ensure no moisture enters the device. Clean the optical sensor area on the bottom of the mouse with a cotton swab if tracking issues occur.
- சேமிப்பு: When not in use for extended periods, store the keyboard and mouse in a clean, dry environment, away from direct sunlight and extreme temperatures.
சரிசெய்தல்
If you encounter issues with your Rampage KM-RX9 set, try the following solutions:
- விசைப்பலகை/சுட்டி பதிலளிக்கவில்லை:
- உங்கள் கணினியின் USB போர்ட்களில் USB கேபிள்கள் பாதுகாப்பாக இணைக்கப்பட்டுள்ளதா என்பதை உறுதிப்படுத்திக் கொள்ளுங்கள்.
- சாதனங்களை வெவ்வேறு USB போர்ட்களில் செருக முயற்சிக்கவும்.
- உங்கள் கணினியை மறுதொடக்கம் செய்யுங்கள்.
- Check your computer's Device Manager (Windows) or System Information (macOS/Linux) to see if the devices are recognized.
- Illumination Not Working (Keyboard):
- Verify that the keyboard is properly connected.
- Press the dedicated lighting control keys or Fn key combinations to ensure illumination is not turned off or set to a very dim mode.
- சுட்டி கண்காணிப்பு சிக்கல்கள்:
- சுட்டியின் அடிப்பகுதியில் உள்ள ஆப்டிகல் சென்சாரை சுத்தம் செய்யவும்.
- Ensure you are using the mouse on a suitable surface (e.g., a mouse pad, not a reflective or transparent surface).
- Adjust the DPI settings using the DPI button.
விவரக்குறிப்புகள்
| தயாரிப்பு மாதிரி | KM-RX9 |
| பிராண்ட் | Rampage (Everest Rampவயது) |
| இணைப்பு தொழில்நுட்பம் | USB வயர்டு |
| விசைப்பலகை தளவமைப்பு | QWERTY |
| சிறப்பு அம்சங்கள் | Rainbow Ground Illuminated Keyboard, DPI Adjustable Mouse |
| இணக்கமான சாதனங்கள் | டெஸ்க்டாப், லேப்டாப், டேப்லெட் |
| இயக்க முறைமை இணக்கத்தன்மை | விண்டோஸ், மேகோஸ், லினக்ஸ் |
| தயாரிப்பு பரிமாணங்கள் | Keyboard: 54 x 17 x 4.2 cm; 830 g |
| சக்தி ஆதாரம் | Electric Corded (USB) |
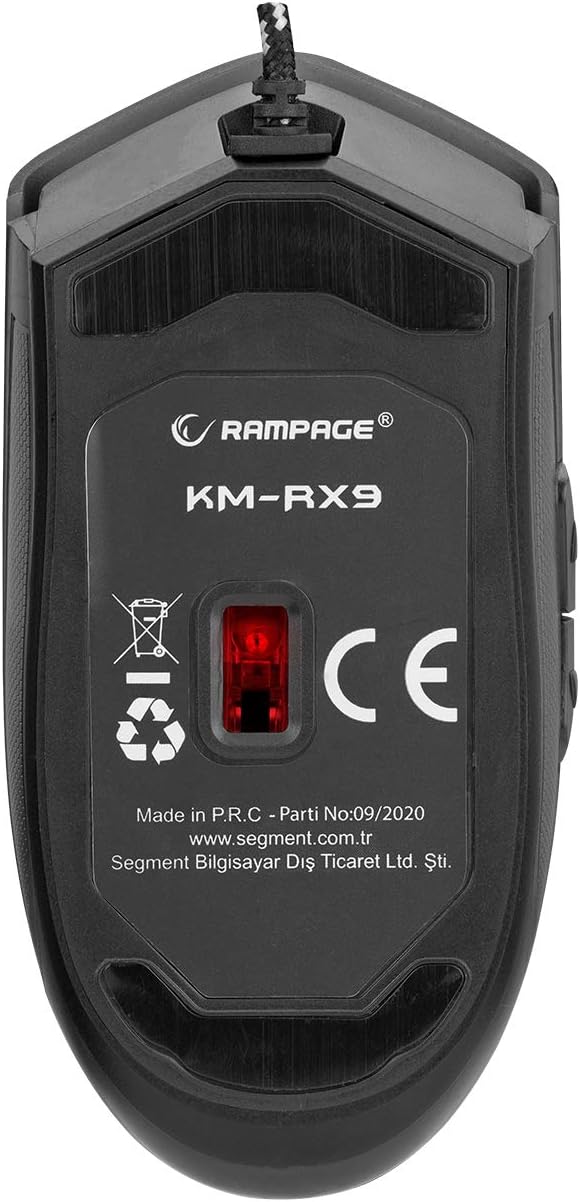
படம் 6: கீழே view of the Rampage KM-RX9 mouse, displaying the model number and optical sensor.
உத்தரவாதம் மற்றும் ஆதரவு
For warranty information and customer support, please refer to the documentation provided at the time of purchase or contact your retailer. You may also visit the official Rampவயது webமேலும் உதவிக்கான தளம்.