
அறிமுகம்
This manual provides essential information for the proper setup, operation, and maintenance of your Philips 346B1C Curved Monitor. This 34-inch WQHD (3440 x 1440) display features a 100 Hz refresh rate, 5ms response time, and a curved VA panel for an immersive viewing experience. Key features include USB-C docking, MultiView functionality, FreeSync technology, LowBlue Mode, and FlickerFree technology for enhanced user comfort and productivity.

படம்: முன்பக்கம் view of the Philips 346B1C curved monitor, showcasing its ultrawide display and key features like WQHD, USB-C Docking, and MultiView.
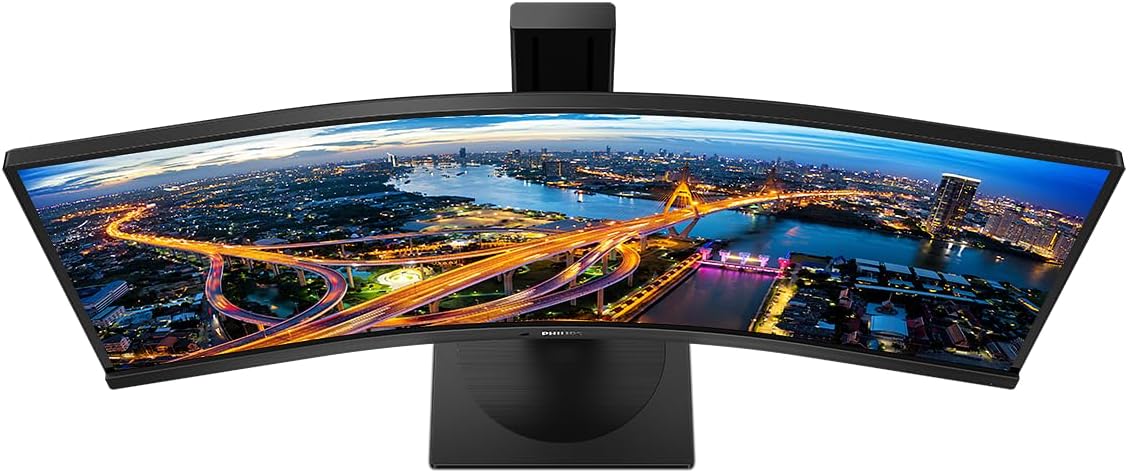
படம்: மேலிருந்து கீழ் view of the Philips 346B1C curved monitor, emphasizing the curvature of the screen.
பெட்டியில் என்ன இருக்கிறது
அமைப்பைத் தொடர்வதற்கு முன் அனைத்து கூறுகளும் உள்ளனவா என்பதைச் சரிபார்க்கவும்.
- Philips 346B1C Curved Monitor
- மானிட்டர் ஸ்டாண்ட் (அடித்தளம் மற்றும் கழுத்து)
- பவர் கேபிள்
- HDMI கேபிள்
- டிஸ்ப்ளே கேபிள்
- USB-C முதல் USB-C கேபிள்
- USB-A to USB-B Cable (Upstream)
- Documentation (Quick Start Guide, User Manual CD)
அமைவு வழிமுறைகள்
1. நிலைப்பாட்டை அசெம்பிள் செய்தல்
- கீறல்களைத் தவிர்க்க, மானிட்டரை ஒரு மென்மையான, சுத்தமான மேற்பரப்பில் கீழே வைக்கவும்.
- Attach the stand neck to the monitor panel. Ensure it clicks securely into place or is fastened with screws if provided.
- ஸ்டாண்ட் பேஸை ஸ்டாண்ட் கழுத்தில் இணைக்கவும். பேஸின் அடிப்பகுதியில் இருந்து கட்டைவிரல் ஸ்க்ரூ அல்லது ஸ்க்ரூக்களை இறுக்கவும்.

படம்: பின்புறம் view of the Philips 346B1C monitor, showing the stand attachment point and VESA mounting holes.
2. உங்கள் கணினியுடன் இணைத்தல்
Connect the monitor to your computer using one of the following methods:
- HDMI இணைப்பு: HDMI கேபிளின் ஒரு முனையை மானிட்டரின் HDMI போர்ட்டுடனும், மறு முனையை உங்கள் கணினியின் HDMI வெளியீட்டுடனும் இணைக்கவும்.
- டிஸ்ப்ளே போர்ட் இணைப்பு: Connect one end of the DisplayPort cable to the monitor's DisplayPort and the other end to your computer's DisplayPort output.
- USB-C இணைப்பு: Connect one end of the USB-C cable to the monitor's USB-C port and the other end to your computer's USB-C port. This connection supports video, data, and power delivery (up to 90W) to your laptop.
For USB hub functionality, connect the USB-A to USB-B upstream cable from your computer to the monitor's USB-B upstream port.
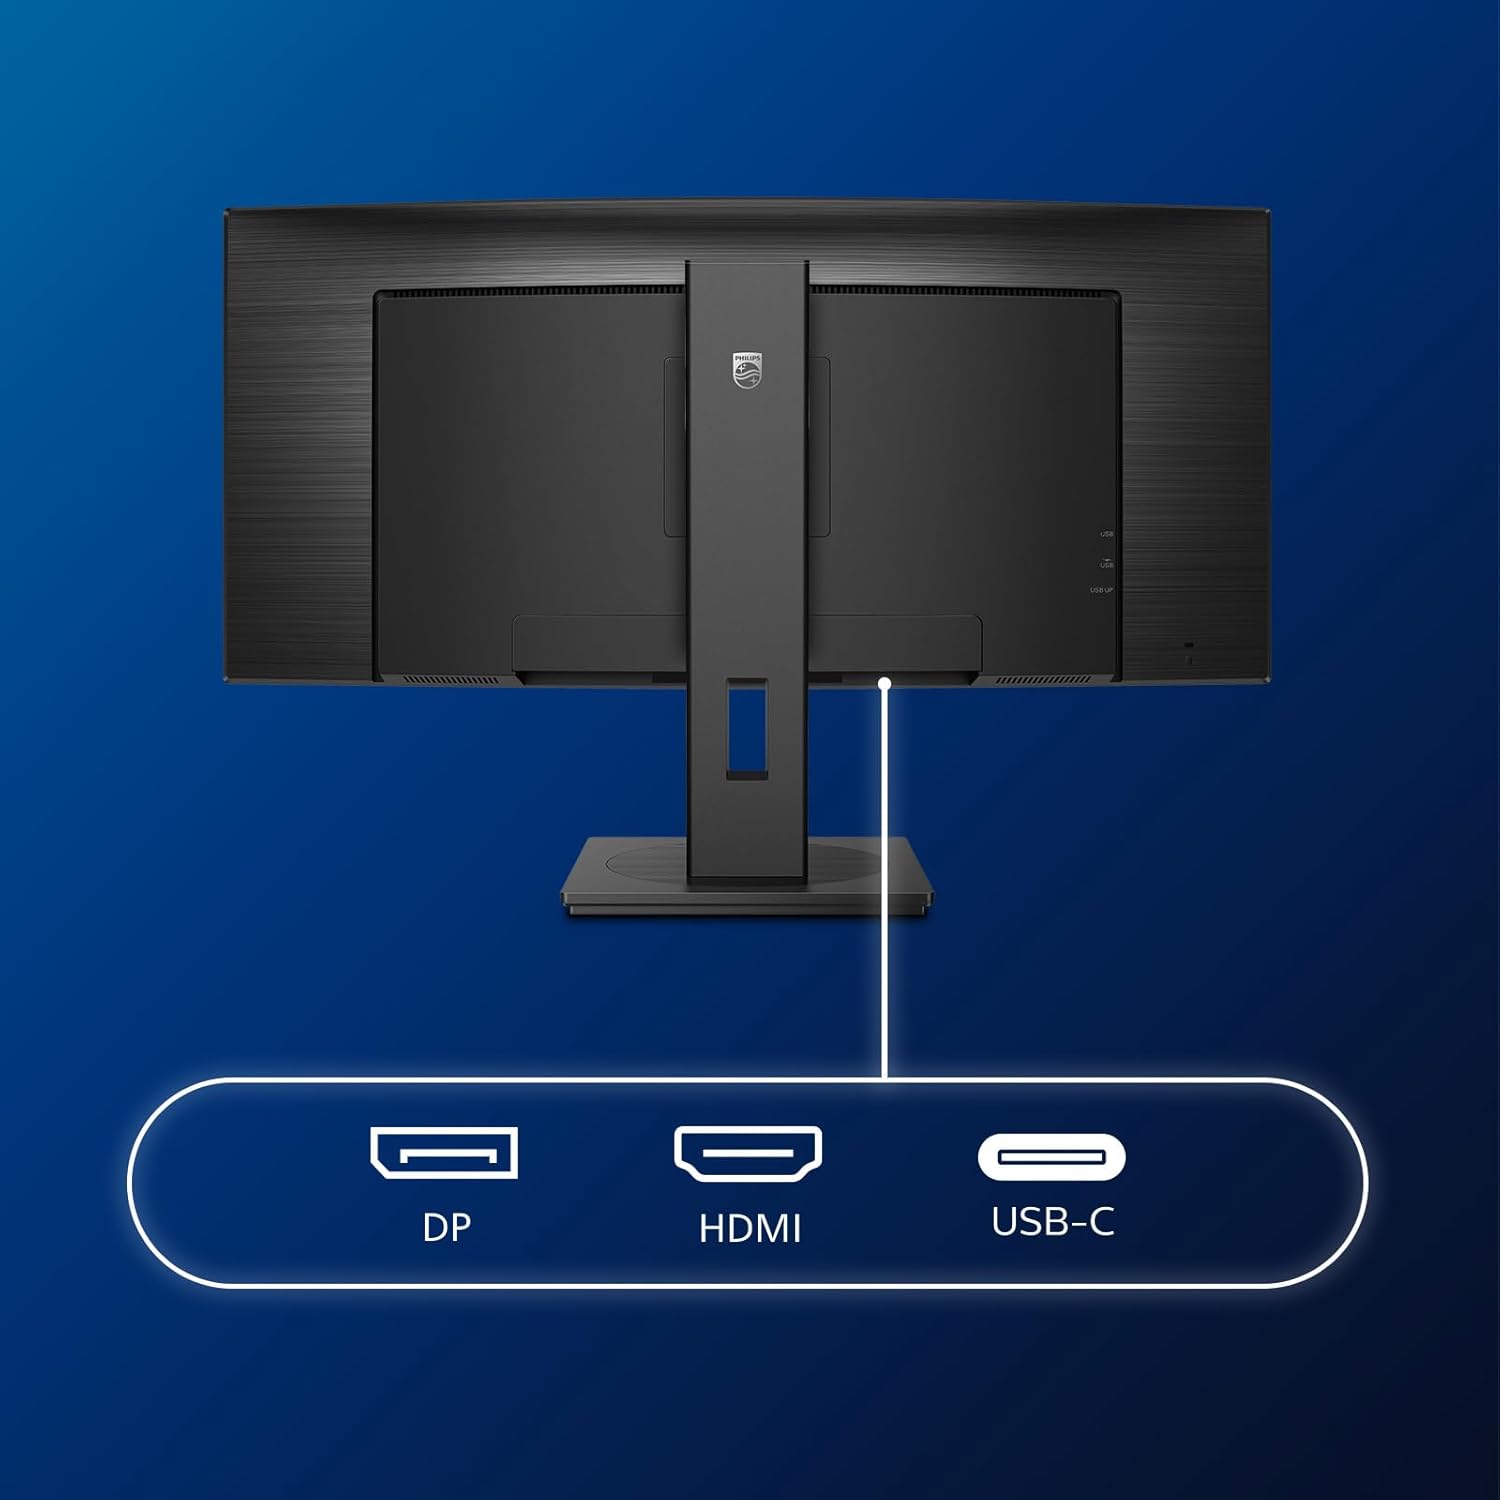
படம்: விரிவானது view of the monitor's input ports, including DisplayPort (DP), HDMI, and USB-C, for connecting to various devices.
3. மின் இணைப்பு
மின் கேபிளை மானிட்டரின் மின் உள்ளீட்டுடன் இணைக்கவும், பின்னர் தரையிறக்கப்பட்ட மின் கடையுடன் இணைக்கவும்.
4. ஆரம்ப பவர் ஆன்
Press the power button located on the monitor to turn it on. The monitor should automatically detect the input signal. If not, use the On-Screen Display (OSD) menu to select the correct input source.
இயக்க வழிமுறைகள்
ஆன்-ஸ்கிரீன் டிஸ்ப்ளே (OSD) மெனு
The OSD menu allows you to adjust various monitor settings. Use the joystick control located on the back or bottom of the monitor to navigate the menu.
- பிரகாசம்/மாறுபாடு: காட்சியின் ஒட்டுமொத்த ஒளிர்வு மற்றும் மாறுபாட்டை சரிசெய்யவும்.
- வண்ண அமைப்புகள்: வண்ண வெப்பநிலை, காமா மற்றும் வண்ண இடத்தை நன்றாகச் சரிசெய்யவும்.
- உள்ளீடு தேர்ந்தெடு: HDMI, DisplayPort மற்றும் USB-C உள்ளீடுகளுக்கு இடையில் கைமுறையாக மாறவும்.
- ஆடியோ: Adjust volume or mute the built-in speakers.
- பட முறை: Select from preset picture modes (e.g., Standard, Gaming, Text).
பலView செயல்பாடு
பலView feature allows you to connect and view content from two different sources simultaneously on the screen. Access this feature through the OSD menu to select Picture-by-Picture (PbP) or Picture-in-Picture (PiP) modes and configure input sources.
USB-C நறுக்குதல்
When connected via USB-C, the monitor acts as a docking station, providing video, data transfer through its integrated USB hub, and power delivery to charge your connected laptop (up to 90W).
SmartErgoBase and Adjustability
The monitor's SmartErgoBase allows for ergonomic adjustments including height, swivel, and tilt to optimize your viewஆறுதல்.

Image: Illustrations demonstrating the monitor's adjustable features, including height adjustment, tilt, and swivel capabilities for ergonomic positioning.
கண் ஆறுதல் அம்சங்கள்
- குறைந்த நீலப் பயன்முறை: Reduces harmful shortwave blue light emissions to prevent eye strain. Activate this mode via the OSD menu.
- FlickerFree Technology: Regulates brightness and reduces flicker for more comfortable viewஇந்த அம்சம் எப்போதும் செயலில் இருக்கும்.
- PowerSensor & LightSensor: These sensors automatically adjust monitor brightness based on ambient light conditions and user presence, saving energy and reducing eye strain.
பராமரிப்பு
மானிட்டரை சுத்தம் செய்தல்
- சுத்தம் செய்வதற்கு முன் மானிட்டரை எப்போதும் துண்டிக்கவும்.
- மென்மையான, பஞ்சு இல்லாத துணியை லேசாக பயன்படுத்தவும்ampதண்ணீர் அல்லது லேசான, சிராய்ப்பு இல்லாத திரை கிளீனரால் பூசப்பட்டது.
- Do not use alcohol, solvents, or ammonia-based cleaners, as these can damage the screen surface.
- தூசி மற்றும் கறைகளை அகற்ற திரையை மெதுவாக துடைக்கவும்.
- மானிட்டரை சுத்தம் செய்யவும் casinமென்மையான, உலர்ந்த துணியால் கிராம்.
பொது பராமரிப்பு
- மானிட்டர் அல்லது அதன் கேபிள்களில் கனமான பொருட்களை வைப்பதைத் தவிர்க்கவும்.
- நேரடி சூரிய ஒளி, அதிகப்படியான வெப்பம் அல்லது கடுமையான குளிருக்கு மானிட்டரை வெளிப்படுத்த வேண்டாம்.
- மானிட்டரைச் சுற்றி சரியான காற்றோட்டத்தை உறுதிப்படுத்தவும்.
சரிசெய்தல்
உங்கள் மானிட்டரில் சிக்கல்கள் ஏற்பட்டால், பின்வரும் பொதுவான சரிசெய்தல் படிகளைப் பார்க்கவும்:
| பிரச்சனை | சாத்தியமான காரணம் | தீர்வு |
|---|---|---|
| திரையில் படம் இல்லை | மின் கேபிள் துண்டிக்கப்பட்டது; வீடியோ கேபிள் துண்டிக்கப்பட்டது; தவறான உள்ளீட்டு மூலத்தைத் தேர்ந்தெடுத்துள்ளோம். | Ensure power cable is securely connected; Check video cable connections (HDMI, DP, USB-C); Select correct input source via OSD menu. |
| படம் மங்கலாகவோ அல்லது சிதைந்தோ உள்ளது. | தவறான தெளிவுத்திறன்; கிராபிக்ஸ் இயக்கி சிக்கல். | Set display resolution to 3440 x 1440; Update graphics card drivers. |
| பேச்சாளர்களிடமிருந்து ஒலி இல்லை | Volume muted or too low; Incorrect audio output selected on computer. | Adjust monitor volume via OSD; Check computer's audio output settings. |
| USB போர்ட்கள் வேலை செய்யவில்லை | USB அப்ஸ்ட்ரீம் கேபிள் இணைக்கப்படவில்லை. | Ensure the USB-A to USB-B upstream cable is connected from the monitor to your computer. |
மேலும் உதவிக்கு, ஆதரவு பிரிவைப் பார்க்கவும் அல்லது பிலிப்ஸ் வாடிக்கையாளர் சேவையைத் தொடர்பு கொள்ளவும்.
விவரக்குறிப்புகள்
| அம்சம் | விவரம் |
|---|---|
| பிராண்ட் | பிலிப்ஸ் |
| மாதிரி எண் | 346B1C |
| திரை அளவு | 34 அங்குலம் (86 செமீ) |
| தீர்மானம் | 3440 x 1440 (WQHD) |
| தோற்ற விகிதம் | 21:9 |
| திரை மேற்பரப்பு | Curved VA Panel |
| புதுப்பிப்பு விகிதம் | 100 ஹெர்ட்ஸ் |
| பதில் நேரம் | 5 Milliseconds (GtG) |
| மாறுபாடு விகிதம் | 3000:1 (வழக்கமானது) |
| பிரகாசம் | 300 cd/m² |
| Viewing கோணம் | 178° (H) / 178° (V) |
| இணைப்பு | 1x HDMI 2.0, 1x DisplayPort 1.2, 1x USB-C 3.2 Gen 1 (upstream, power up to 90W), 1x USB-B (upstream), 4x USB 3.2 (downstream), RJ45 (Ethernet) |
| தழுவல் ஒத்திசைவு | FreeSync |
| உள்ளமைக்கப்பட்ட ஒலிபெருக்கிகள் | 2x 5W |
| மின் நுகர்வு | 5 Watts (Eco mode) |
| எடை | 7.8 Kilograms (with stand) |
உத்தரவாதம் மற்றும் ஆதரவு
உத்தரவாத தகவல்
This Philips monitor comes with a 2 வருட உற்பத்தியாளரின் உத்தரவாதம். The specific terms and conditions of the warranty can be found in the detailed documentation provided with your product or on the official Philips support website. Your statutory rights as a consumer are not affected by this warranty.
வாடிக்கையாளர் ஆதரவு
For technical assistance, product inquiries, or warranty claims, please visit the official Philips support website or contact their customer service department. You may need your monitor's model number (346B1C) and serial number (found on the back of the monitor) when contacting support.
பிலிப்ஸ் ஆதரவு Webதளம்: www.philips.com/support