Lovskoo Lovskoo
லோவ்ஸ்கூ மினி ப்ரொஜெக்டர் LED போர்ட்டபிள் ப்ரொஜெக்டர் பயனர் கையேடு
Model: Lovskoo (ASIN: B0BTNBCDFG)
அறிமுகம்
This manual provides detailed instructions for the setup, operation, and maintenance of your Lovskoo Mini Projector LED Portable Projector. Please read this manual thoroughly before using the product to ensure proper function and longevity.
தயாரிப்பு முடிந்துவிட்டதுview
The Lovskoo Mini Projector is a compact and portable LED projector designed for various applications, including home entertainment and presentations. It supports up to 1080P resolution input and features multiple connectivity options.

படம் 1: முன்-வலது view of the Lovskoo Mini Projector, showcasing அதன் சிறிய வடிவமைப்பு மற்றும் லென்ஸ்.

Image 2: The Lovskoo Mini Projector with its dimensions indicated: 5.24 inches (length), 3.31 inches (width), and 2.05 inches (height).
காணொளி 1: ஒரு சுருக்கமான விளக்கம்view of the Lovskoo Mini Projector, demonstrating its physical appearance and various ports.
தொகுப்பு உள்ளடக்கங்கள்
தொகுப்பில் அனைத்து பொருட்களும் உள்ளதா என சரிபார்க்கவும்:
- 1x Lovskoo Mini Projector
- 1x ரிமோட் கண்ட்ரோல்
- 1x Connecting line (AV cable)
- 1x Charging line (Power adapter)
- 1x அறிவுறுத்தல் கையேடு

Image 3: The complete package contents, including the projector, remote control, AV cable, power adapter, and user manual.
அமைவு
1. மின் இணைப்பு
- Connect the power adapter to the projector's DC IN port.
- பவர் அடாப்டரை ஒரு நிலையான மின் கடையில் செருகவும்.
2. Input Source Connection
The projector supports multiple input interfaces:
- , HDMI: Connect to laptops, game consoles (PS3, PS4, Xbox One), TV boxes, etc.
- USB: மீடியா பிளேபேக்கிற்கு USB டிரைவ்களை இணைக்கவும்.
- ஏ.வி: Connect to DVD/VCD players or older devices using the provided AV cable.
- மைக்ரோ எஸ்டி: மீடியா பிளேபேக்கிற்கு மைக்ரோ SD கார்டைச் செருகவும்.
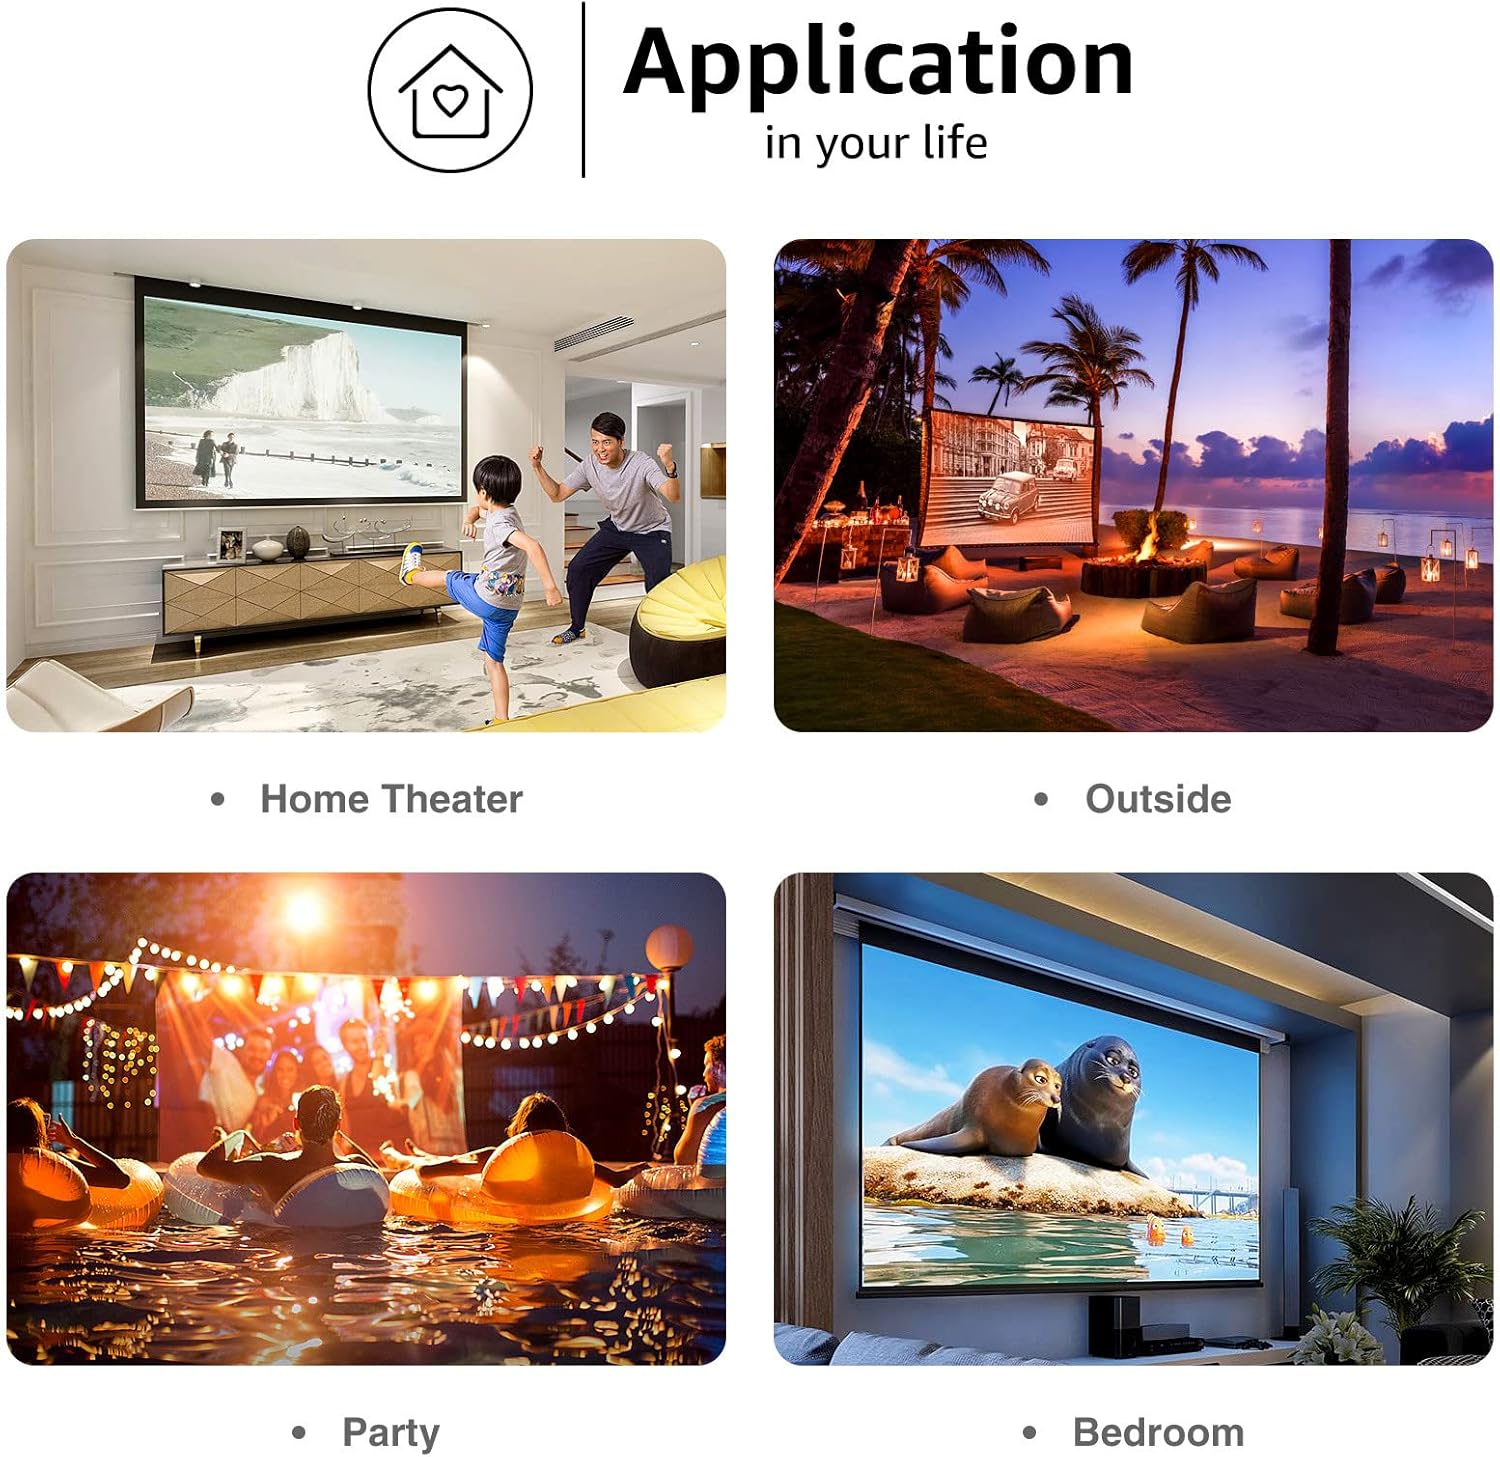
Image 4: Diagram illustrating the projector's ports (HDMI input slot, USB input slot, DC IN, AV, Micro SD) and top panel controls (Return, Input, OK, Left, Right, Power switch).
3. Placement and Screen Size
Position the projector on a stable surface. The optimal projection distance and screen size are:
- Recommended projection distance: 0.8 - 2.0 meters (2.6 - 6.5 feet).
- Recommended screen size: 24 - 60 inches.
- For best results, a 60-inch screen is recommended.

Image 5: Illustration of flexible projection, showing various screen sizes (24 to 65 inches) achievable at different distances.

படம் 6: எ.கா.ample of the projector displaying a 24-inch and 60-inch image on a wall, demonstrating the adjustable display size.
இயக்க வழிமுறைகள்
1. பவர் ஆன்/ஆஃப்
அழுத்தவும் சக்தி button on the projector or remote control to turn the device on or off.
2. கவனம் சரிசெய்தல்
Rotate the focus ring located near the lens to achieve a clear image. Adjust until the projected image is sharp.
3. கீஸ்டோன் திருத்தம்
The projector features trapezoidal correction of positive and negative 15 degrees to address image distortion. Adjust as needed to ensure a rectangular image.
4. உள்ளீட்டு மூல தேர்வு
அழுத்தவும் உள்ளீடு button on the projector or remote control to cycle through available input sources (HDMI, USB, AV, Micro SD).
5. மீடியா பிளேபேக்
Once an input source is selected, navigate through the menu using the directional buttons (Left, Right) and confirm selections with the OK button. Play supported media files from USB drives or Micro SD cards.
பராமரிப்பு
1. லென்ஸை சுத்தம் செய்தல்
ப்ரொஜெக்டர் லென்ஸை மெதுவாக துடைக்க, ஆப்டிகல் லென்ஸ்களுக்காக பிரத்யேகமாக வடிவமைக்கப்பட்ட மென்மையான, பஞ்சு இல்லாத துணியைப் பயன்படுத்தவும். சிராய்ப்பு பொருட்கள் அல்லது கடுமையான இரசாயனங்களைத் தவிர்க்கவும்.
2. ப்ரொஜெக்டர் உடலை சுத்தம் செய்தல்
ப்ரொஜெக்டரின் வெளிப்புறத்தை மென்மையான, உலர்ந்த துணியால் துடைக்கவும். திரவ கிளீனர்களை நேரடியாக சாதனத்தில் பயன்படுத்த வேண்டாம்.
3. காற்றோட்டம்
Ensure the projector's ventilation openings are clear and unobstructed to prevent overheating. The built-in cooling fan helps maintain optimal operating temperature.
4. சேமிப்பு
நீண்ட நேரம் பயன்படுத்தப்படாதபோது, ப்ரொஜெக்டரை குளிர்ந்த, உலர்ந்த இடத்தில், நேரடி சூரிய ஒளி மற்றும் அதிகப்படியான தூசி படாத இடத்தில் சேமிக்கவும்.
சரிசெய்தல்
| பிரச்சனை | சாத்தியமான காரணம் | தீர்வு |
|---|---|---|
| எந்தப் படமும் வெளியிடப்படவில்லை. |
|
|
| மங்கலான படம் |
|
|
| படம் சிதைந்துள்ளது (ட்ரெப்சாய்டு வடிவம்) |
|
|
| ஒலி இல்லை |
|
|
விவரக்குறிப்புகள்
| அம்சம் | விவரம் |
|---|---|
| பிராண்ட் | லோவ்ஸ்கூ |
| மாதிரி எண் | லோவ்ஸ்கூ |
| திட்ட அமைப்பு | LCD + LED |
| நேட்டிவ் ரெசல்யூஷன் | 320x240 |
| ஆதரிக்கப்படும் தீர்மானம் | Up to 1920x1080 (1080P) |
| பிரகாசம் | 30 லுமன்ஸ் |
| ஒளி மூல வாழ்க்கை | 30,000 மணிநேரம் |
| LCD அளவு | 2.0 அங்குலம் |
| மின் நுகர்வு | 24W |
| தயாரிப்பு பரிமாணங்கள் | 5.24 x 3.31 x 2.05 அங்குலம் |
| பொருளின் எடை | 0.661 lbs (Product), 1.23 lbs (Full set) |
| உள்ளீட்டு இடைமுகங்கள் | HDMI, USB, AV, Micro SD |
| சிறப்பு அம்சங்கள் | Portable, Built-in speakers, Keystone correction |
உத்தரவாதம் மற்றும் ஆதரவு
For warranty information or technical support, please refer to the contact details provided with your purchase documentation or visit the official Lovskoo webதளம். குறிப்பிட்ட உத்தரவாத விதிமுறைகள் பிராந்தியம் மற்றும் சில்லறை விற்பனையாளரைப் பொறுத்து மாறுபடலாம்.
Ask a question about this manual
Ask about setup, troubleshooting, compatibility, parts, safety, or missing instructions. Manuals+ will review the question and use this page’s manual context to help answer it.