
BRONC V7
BRONC V7 Tattoo Machine User Manual
Model: V7 | Brand: BRONC
அறிமுகம்
The BRONC V7 Tattoo Machine is a rotary pen-style device designed for professional tattooing. It features a coreless motor, a high-capacity 2000mAh battery, and a 4.0mm stroke length, offering both standalone wireless operation and wired connectivity. Crafted from aircraft-grade aluminum with precision CNC technology, the V7 ensures durability and reliable performance. It incorporates advanced safety features such as overload and short-circuit warnings, along with automatic power-off protection.
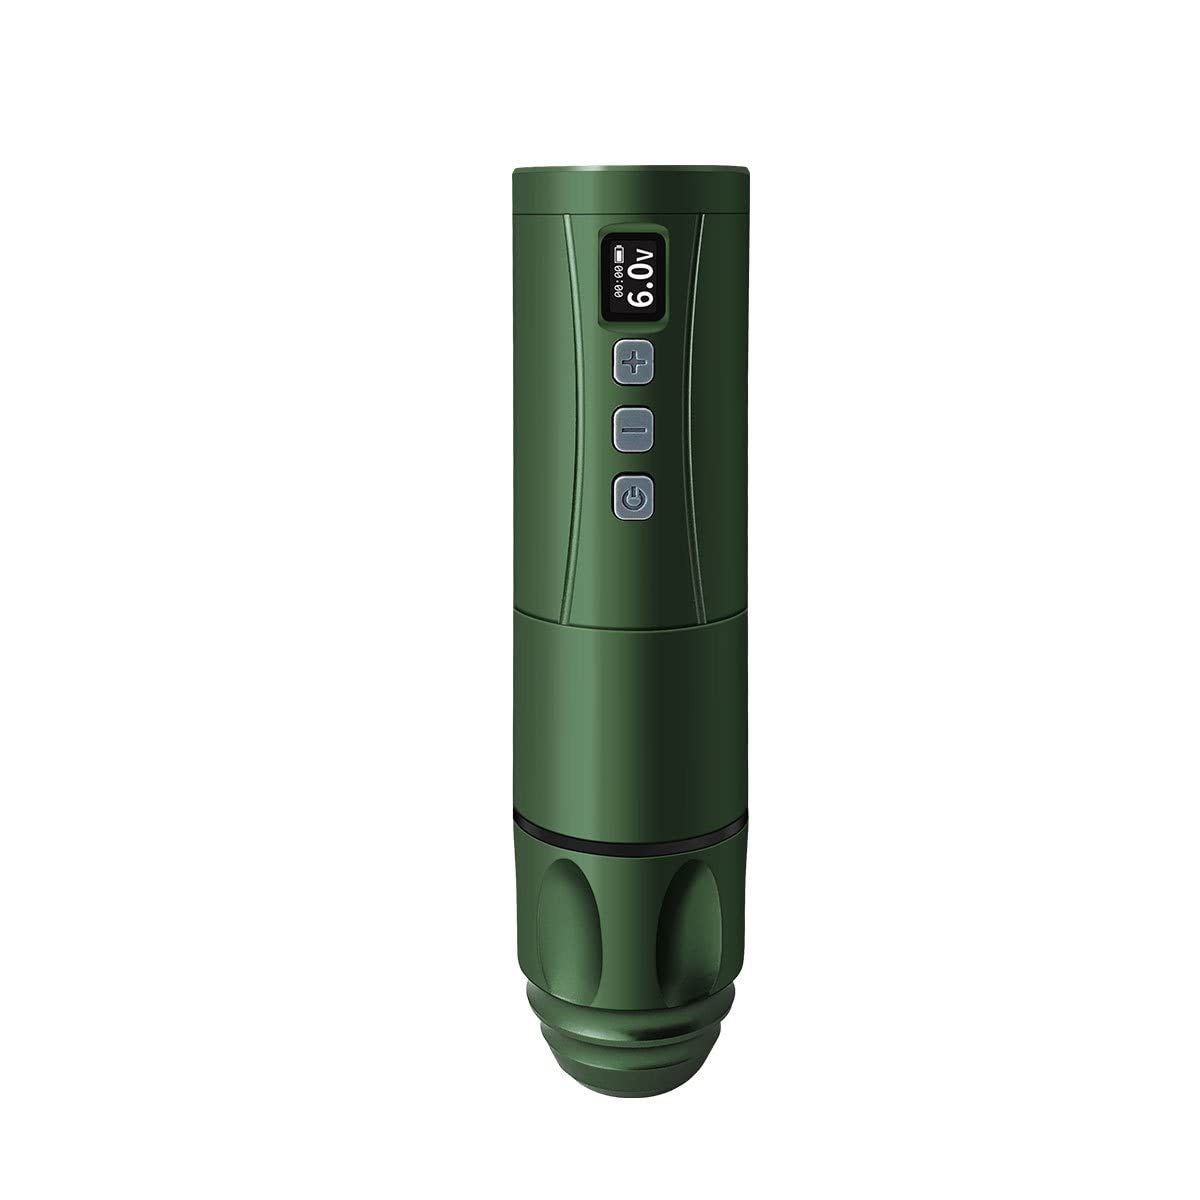
Image: The BRONC V7 Tattoo Machine in Army Green, showcasinஅதன் நேர்த்தியான வடிவமைப்பு மற்றும் டிஜிட்டல் காட்சி.
அமைவு
தொகுப்பு உள்ளடக்க சரிபார்ப்பு
தொடங்குவதற்கு முன், தொகுப்பில் அனைத்து கூறுகளும் இருப்பதை உறுதிசெய்து கொள்ளுங்கள்:
- BRONC V7 Tattoo Pen
- அதிக திறன் கொண்ட பேட்டரி
- வகை-சி சார்ஜிங் கேபிள்
- சுருள் அடாப்டர்
- கேரிங் கேஸ்
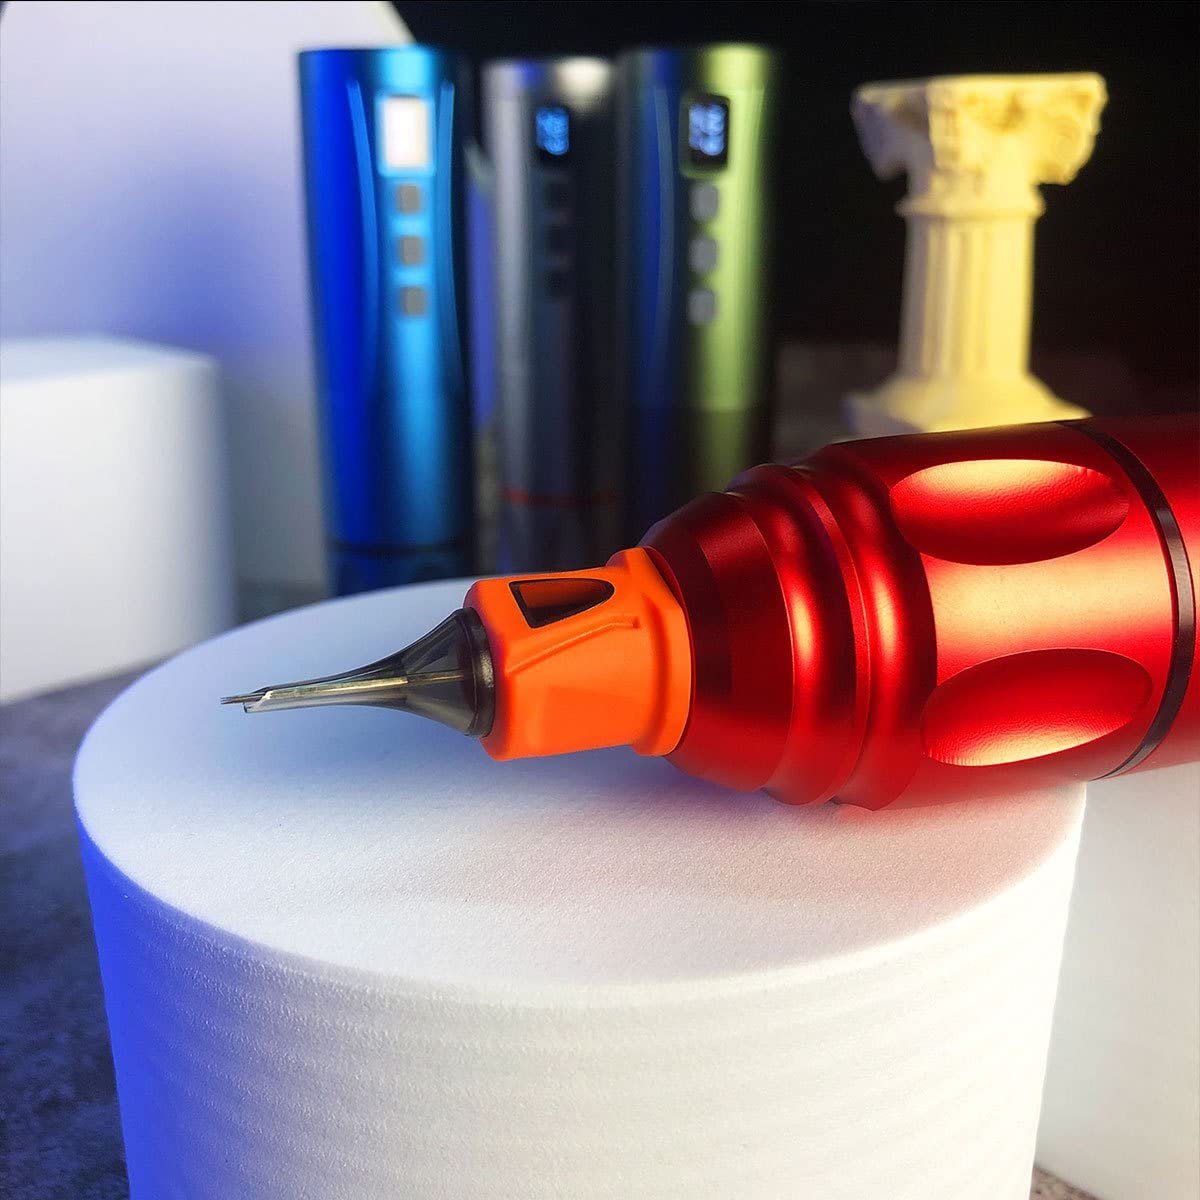
Image: The BRONC V7 Tattoo Machine, its battery, and the included carrying case, demonstrating the complete package.
பேட்டரி சார்ஜிங் மற்றும் நிறுவல்
- Connect the Type-C charging cable to the machine's charging port and a suitable USB power adapter.
- Allow the battery to fully charge before first use. The digital display will indicate charging status.
- To install the battery, align it correctly with the battery compartment and gently push until it clicks into place.
Needle Cartridge Installation
- இயந்திரம் அணைக்கப்பட்டுள்ளதா என்பதை உறுதிப்படுத்தவும்.
- Carefully insert the desired needle cartridge into the front opening of the machine, twisting slightly until it locks securely.
- Adjust the needle depth by rotating the grip section of the machine. The needle depth range is 0-4.0mm.

படம்: ஒரு நெருக்கமான படம் view of the BRONC V7 Tattoo Machine's tip, illustrating the proper way to insert a needle cartridge.
Dual Functionality Setup
The BRONC V7 supports both standalone wireless operation and connected usage. To switch to connected mode, remove the battery and attach the provided coil adapter. This allows the machine to be powered by an external power supply via an RCA connection (power supply and RCA cable not included).
இயக்க வழிமுறைகள்
Powering On/Off and Voltagஇ சரிசெய்தல்
- To power on, press and hold the power button (usually indicated by a circle with a vertical line) until the display illuminates.
- பவரை ஆஃப் செய்ய, பவர் பட்டனை மீண்டும் அழுத்திப் பிடிக்கவும்.
- Use the '+' and '-' buttons to adjust the voltage. The recommended operating voltage is 5.5V-7.5V, with a range of 5.0V-11.0V.
- The machine features a 9V jump-start function for certain needle types or starting conditions.
பாதுகாப்பு அம்சங்கள்
The BRONC V7 is equipped with built-in safety mechanisms:
- Overload and Short-Circuit Warnings: The machine will alert the user if an overload or short-circuit condition is detected.
- Overload and Over-Current Protection: The machine will automatically shut off if it gets stuck or experiences a short-circuit to prevent damage.
பொதுவான பயன்பாட்டு குறிப்புகள்
- Always ensure proper hygiene and sterilization practices when using the tattoo machine.
- Regularly check needle depth and adjust as needed for different tattooing techniques.
- Monitor the battery level on the display during wireless operation to avoid interruptions.
Video: A demonstration of the BRONC V7 Tattoo Machine in use, showing the process of setting up the machine and performing tattooing work.
பராமரிப்பு
சுத்தம் மற்றும் கிருமி நீக்கம்
- After each use, thoroughly clean the exterior of the machine with a suitable disinfectant wipe.
- Do not immerse the machine in liquids. The machine is water resistant, not waterproof.
- Ensure all disposable components (needle cartridges) are properly discarded after use.
பேட்டரி பராமரிப்பு மற்றும் சேமிப்பு
- Store the machine and battery in a cool, dry place away from direct sunlight and extreme temperatures.
- நீண்ட கால சேமிப்பிற்கு, அதன் ஆயுட்காலத்தை நீட்டிக்க பேட்டரி பகுதியளவு (சுமார் 50%) சார்ஜ் செய்யப்பட்டுள்ளதா என்பதை உறுதிப்படுத்திக் கொள்ளுங்கள்.
- அடிக்கடி அதிகமாக சார்ஜ் செய்வதையோ அல்லது பேட்டரியை முழுவதுமாக வெளியேற்றுவதையோ தவிர்க்கவும்.
சரிசெய்தல்
| பிரச்சனை | சாத்தியமான காரணம் | தீர்வு |
|---|---|---|
| இயந்திரம் இயக்கப்படவில்லை. | Low battery; incorrect battery installation; power button not pressed long enough. | Charge the battery; re-install battery correctly; press and hold power button for 3 seconds. |
| செயல்பாட்டின் போது இயந்திரம் நிறுத்தப்படும். | Low battery; overload/short-circuit protection activated. | Recharge battery; check for needle obstruction or short-circuit, then restart. |
| அசாதாரண அதிர்வு அல்லது சத்தம். | Loose needle cartridge; internal issue. | Ensure needle cartridge is securely locked; if problem persists, contact support. |
| பேட்டரி சார்ஜ் ஆகவில்லை. | Faulty cable or adapter; charging port issue. | Try a different Type-C cable and adapter; ensure cable is fully inserted. |
விவரக்குறிப்புகள்
| அளவுரு | மதிப்பு |
|---|---|
| பொருள் | விமான தர அலுமினியம் |
| பக்கவாதம் நீளம் | 4.0மிமீ |
| Needle Depth Range | 0-4.0 மிமீ |
| மோட்டார் வகை | Swiss DC motor |
| சுமை இல்லாத வேகம் | 12,000 ஆர்பிஎம் |
| தொகுதிtage வெளியீடு வரம்பு | 5.0V-11.0V |
| பரிந்துரைக்கப்பட்ட இயக்க தொகுதிtage | 5.5V-7.5V |
| பேட்டரி திறன் | 2000mAh |
| Operating Time (Test Results) | 7-9 மணி நேரம் |
| சார்ஜிங் முறை | டைப்-சி ஃபாஸ்ட் சார்ஜிங் |
| பேட்டரி விவரக்குறிப்புகள் | 7V 18500 LI-ION |
| பரிமாணங்கள் (விட்டம் x நீளம்) | (22-34) x 145mm |
| Weight (Pen with battery) | 195 கிராம் |
| நீர் எதிர்ப்பு நிலை | நீர் எதிர்ப்பு |
உத்தரவாதம் மற்றும் ஆதரவு
BRONC products are manufactured to high-quality standards. For information regarding warranty coverage, technical support, or service inquiries, please refer to the contact information provided with your product packaging or visit the official BRONC webதளம். எந்தவொரு உத்தரவாதக் கோரிக்கைகளுக்கும் உங்கள் வாங்கியதற்கான ஆதாரத்தை வைத்திருங்கள்.
Ask a question about this manual
Ask about setup, troubleshooting, compatibility, parts, safety, or missing instructions. Manuals+ will review the question and use this page’s manual context to help answer it.