1. அறிமுகம்
This manual provides essential information for setting up, operating, maintaining, and troubleshooting your Beelink SER5 5500U Mini PC. Please read it carefully before using the product to ensure optimal performance and longevity.
The Beelink SER5 5500U is a compact and powerful Mini PC featuring an AMD Ryzen 5 5500U processor, designed for various applications from office work to multimedia entertainment and light gaming. It supports dual 4K display output and offers robust connectivity options.
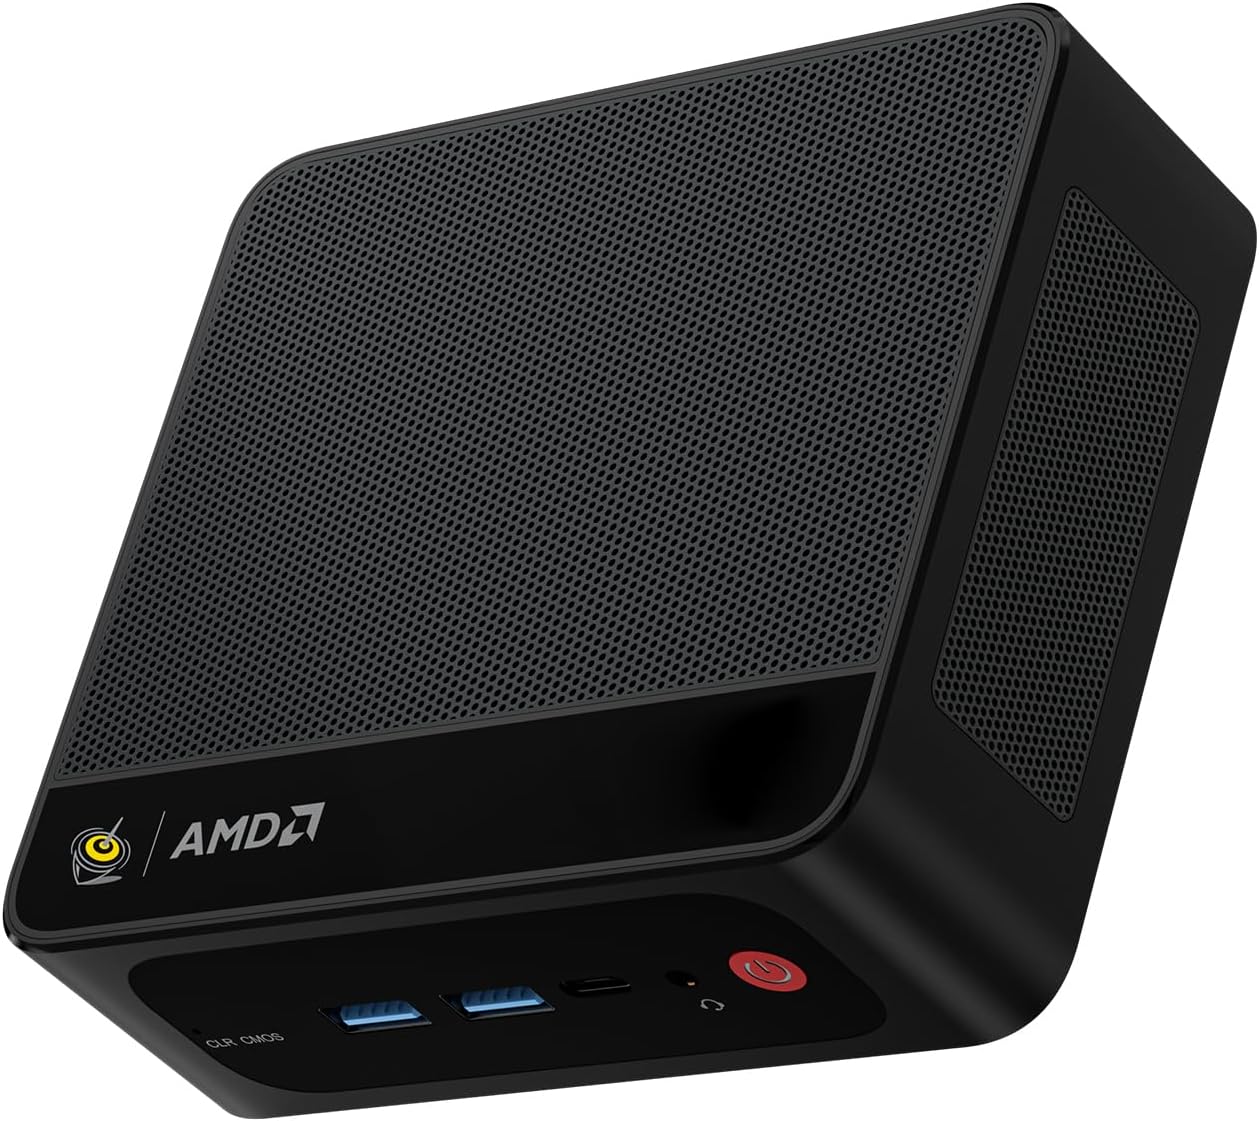
Figure 1: Beelink SER5 5500U Mini PC
2. தொகுப்பு உள்ளடக்கங்கள்
தொகுப்பில் அனைத்து பொருட்களும் உள்ளதா என சரிபார்க்கவும்:
- பீலிங்க் SER5 5500U மினி பிசி (x1)
- HDMI Cable (100cm) (x1)
- Power Adapter (19V/3.42A) (x1)
- Wall-Mounted Bracket (x1)
- பயனர் கையேடு (இந்த ஆவணம்)
3. அமைவு வழிமுறைகள்
3.1 பெரிஃபெரல்களை இணைக்கிறது
- காட்சியை இணைக்கவும்: Use the provided HDMI cable to connect your monitor to the HDMI port on the Mini PC. Alternatively, use a DisplayPort cable for DP connection.
- விசைப்பலகை மற்றும் சுட்டியை இணைக்கவும்: உங்கள் USB விசைப்பலகை மற்றும் மவுஸை கிடைக்கக்கூடிய USB போர்ட்களில் செருகவும்.
- பவர் இணைக்கவும்: மினி பிசியில் உள்ள டிசி-இன் போர்ட்டுடன் பவர் அடாப்டரை இணைக்கவும், பின்னர் அடாப்டரை ஒரு பவர் அவுட்லெட்டில் செருகவும்.
- நெட்வொர்க் இணைப்பு (விரும்பினால்): For a wired connection, connect an Ethernet cable to the 2.5G LAN port. For wireless, ensure your WiFi network is available.

Figure 2: Front and Rear Ports
3.2 ஆரம்ப துவக்கம்
Press the power button on the front of the Mini PC. The system will boot up, and you will see the Windows 11 Pro setup screen. Follow the on-screen instructions to complete the initial Windows setup.
4. இயக்க வழிமுறைகள்
4.1 பவர் ஆன்/ஆஃப் மற்றும் மறுதொடக்கம்
- பவர் ஆன்: ஆற்றல் பொத்தானை அழுத்தவும்.
- பவர் ஆஃப்: Click the Start button in Windows, then select Power > Shut down. Alternatively, press and hold the power button for 5 seconds to force a shutdown (not recommended for regular use).
- மறுதொடக்கம்: விண்டோஸில் தொடக்க பொத்தானைக் கிளிக் செய்து, பின்னர் பவர் > மறுதொடக்கம் என்பதைத் தேர்ந்தெடுக்கவும்.
4.2 இரட்டை காட்சி அமைப்பு
The Beelink SER5 5500U supports dual 4K display output via its HDMI and DisplayPort interfaces. Connect two monitors to these ports. Windows will automatically detect the displays. You can configure display settings (extend, duplicate, etc.) via Windows Display Settings.

Figure 3: Dual Display Configuration
4.3 வயர்லெஸ் இணைப்பு
- வைஃபை 6: The Mini PC supports Wi-Fi 6 (802.11ax) for high-speed wireless internet. Connect via Windows network settings.
- புளூடூத் 5.2: Pair Bluetooth devices such as keyboards, mice, or headphones through Windows Bluetooth settings.
4.4 சேமிப்பு விரிவாக்கம்
The Mini PC includes a 500GB M.2 PCIe NVME 2280 SSD. For additional storage, a 2.5-inch HDD/SSD (not included) can be installed in the dedicated slot. Refer to the internal hardware guide for installation steps.
5. பராமரிப்பு
5.1 சுத்தம் செய்தல்
Regularly clean the exterior of the Mini PC with a soft, dry cloth. Use compressed air to gently clear dust from the ventilation openings to maintain optimal airflow and cooling performance. Do not use liquid cleaners directly on the device.
5.2 மென்பொருள் புதுப்பிப்புகள்
Keep your Windows operating system and device drivers updated. Windows Update will handle most OS updates. For graphics drivers (AMD Radeon Graphics), visit the AMD official webசமீபத்திய பதிப்புகளுக்கான தளம்.
5.3 குளிரூட்டும் அமைப்பு
The Beelink SER5 5500U features a high-speed cooling fan. Ensure the Mini PC is placed in a well-ventilated area and that the air vents are not obstructed to prevent overheating.

படம் 4: உள் குளிர்விக்கும் மின்விசிறி
6. சரிசெய்தல்
6.1 சக்தி இல்லை
- பவர் அடாப்டர் மினி பிசி மற்றும் வேலை செய்யும் பவர் அவுட்லெட் இரண்டுடனும் பாதுகாப்பாக இணைக்கப்பட்டுள்ளதா என்பதை உறுதிப்படுத்தவும்.
- வேறொரு சாதனத்தைச் செருகுவதன் மூலம் மின் நிலையம் செயல்படுகிறதா என்று சரிபார்க்கவும்.
- கிடைத்தால் மற்றும் இணக்கமாக இருந்தால் வேறு பவர் அடாப்டரை முயற்சிக்கவும்.
6.2 காட்சி இல்லை
- Verify that the HDMI or DisplayPort cable is securely connected to both the Mini PC and the monitor.
- Ensure the monitor is powered on and set to the correct input source (HDMI/DP).
- முடிந்தால் வேறு மானிட்டர் அல்லது கேபிள் மூலம் சோதிக்கவும்.
- If the issue persists, try resetting the CMOS by pressing the CLR CMOS button (refer to Figure 2 for location).
6.3 நெட்வொர்க் இணைப்பு சிக்கல்கள்
- கம்பி (LAN): Check the Ethernet cable connection and your router/modem.
- Wireless (Wi-Fi/Bluetooth): Ensure Wi-Fi and Bluetooth are enabled in Windows settings. Restart your router/modem.
- தேவைப்பட்டால் பிணைய இயக்கிகளைப் புதுப்பிக்கவும்.
6.4 System Slowdown
- பின்னணியில் இயங்கும் தேவையற்ற பயன்பாடுகளை மூடு.
- நிலுவையில் உள்ள ஏதேனும் விண்டோஸ் புதுப்பிப்புகளைச் சரிபார்த்து நிறுவவும்.
- Ensure the cooling vents are clear of obstructions.
- வட்டு சுத்தம் செய்தல் மற்றும் டிஃப்ராக்மென்டேஷன் (HDDக்கு, SSDக்கு அவசியமில்லை) இயக்கவும்.
7. விவரக்குறிப்புகள்

Figure 5: Product Specification Overview
| அம்சம் | விவரம் |
|---|---|
| பிராண்ட் | பீலிங்க் |
| மாதிரி | SER5 5500U அறிமுகம் |
| இயக்க முறைமை | விண்டோஸ் 11 ப்ரோ |
| CPU | AMD Ryzen 5 5500U (6 Cores/12 Threads, 2.1GHz Base, up to 4.0GHz Boost) |
| கிராபிக்ஸ் | AMD ரேடியான் கிராபிக்ஸ் (7 கோர்கள், 1800 மெகா ஹெர்ட்ஸ்) |
| ரேம் | 16GB DDR4 (Dual Channel, expandable up to 64GB) |
| சேமிப்பு | 500GB M.2 PCIe NVME 2280 SSD (expandable with 2.5-inch HDD/SSD) |
| வீடியோ வெளியீடு | 1x HDMI (4K@60Hz), 1x DisplayPort (4K@60Hz) |
| USB போர்ட்கள் | 3x USB 3.2 Gen2, 1x USB 2.0, 1x Type-C (Data) |
| நெட்வொர்க் | Wi-Fi 6 (802.11ax), Bluetooth 5.2, 2.5G LAN (RJ45) |
| ஆடியோ | Audio Jack (HP&MIC) |
| பரிமாணங்கள் | 12.6 x 11.3 x 4.2 செ.மீ |
| குளிர்ச்சி | காற்று குளிரூட்டல் |
| பவர் அடாப்டர் | 19V/3.42A |
8. உத்தரவாதம் மற்றும் ஆதரவு
8.1 உத்தரவாதத் தகவல்
Your Beelink SER5 5500U Mini PC comes with a 3 வருட உற்பத்தியாளரின் உத்தரவாதம்உத்தரவாதக் கோரிக்கைகளுக்கு உங்கள் வாங்கியதற்கான ஆதாரத்தை வைத்திருங்கள்.
8.2 Product Key Retrieval
If you received your product without a physical product key, you can contact Beelink support to obtain it. Please provide the SN code located on the bottom of your product when contacting support.
8.3 வாடிக்கையாளர் ஆதரவு
For technical assistance, warranty claims, or any other inquiries, please contact Beelink customer support through the official Beelink store or website. Support is typically available within 24 hours for messages.