1. அறிமுகம்
This manual provides instructions for the safe and efficient use of your Brother CP2160F Computerized Sewing Machine. Please read this manual thoroughly before operating the machine to ensure proper function and to prevent damage or injury. Keep this manual in a safe place for future reference.
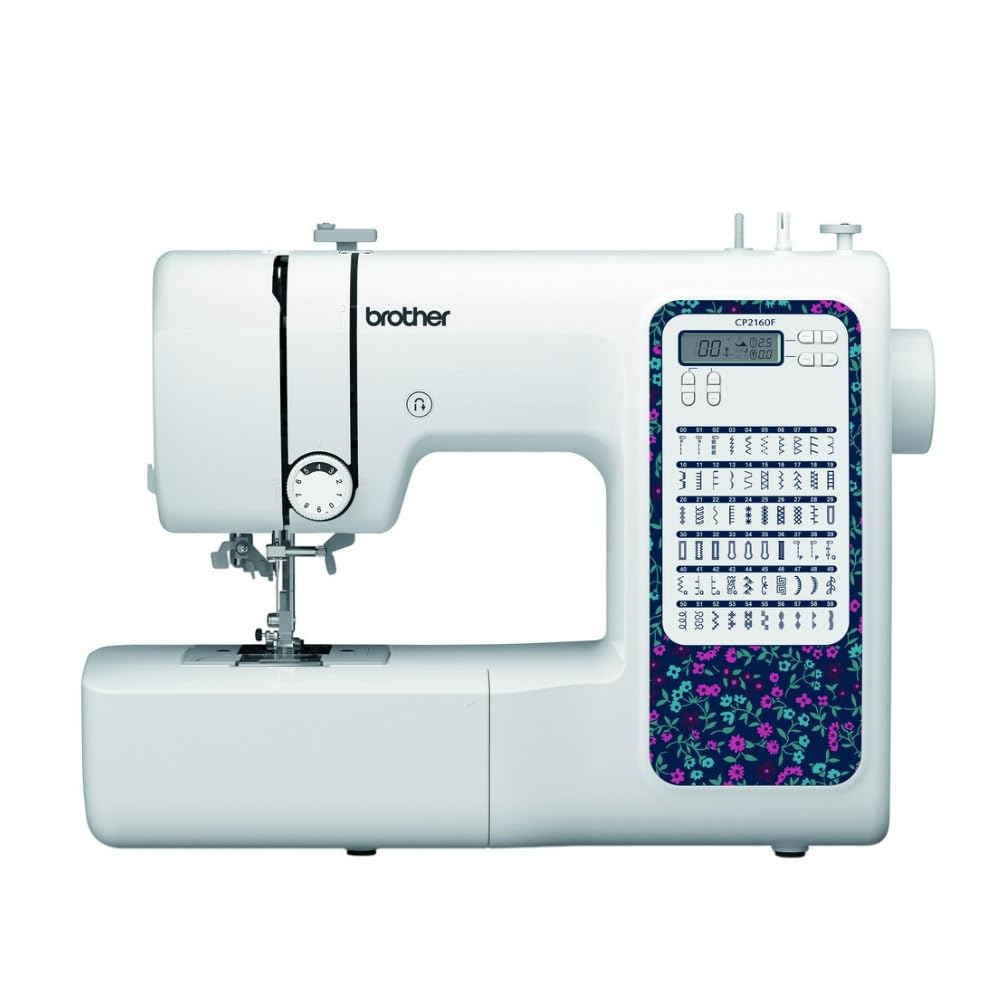
Figure 1: Brother CP2160F Computerized Sewing Machine. This image shows the overall view of the sewing machine, highlighting its compact design and the LCD screen for stitch selection.
2. முக்கியமான பாதுகாப்பு வழிமுறைகள்
மின் சாதனங்களைப் பயன்படுத்தும் போது, பின்வருபவை உட்பட அடிப்படை பாதுகாப்பு முன்னெச்சரிக்கைகள் எப்போதும் பின்பற்றப்பட வேண்டும்:
- இந்த தையல் இயந்திரத்தைப் பயன்படுத்துவதற்கு முன் அனைத்து வழிமுறைகளையும் படிக்கவும்.
- நகரும் அனைத்து பகுதிகளிலிருந்தும் விரல்களை விலக்கி வைக்கவும். தையல் இயந்திர ஊசியைச் சுற்றி சிறப்பு கவனம் தேவை.
- எப்போதும் சரியான ஊசி தட்டு பயன்படுத்தவும். தவறான தட்டு ஊசி உடைந்து போகலாம்.
- ஊசியில் நூல் போடுதல், ஊசியை மாற்றுதல், பாபினில் நூல் போடுதல் அல்லது பிரஷர் பாதத்தை மாற்றுதல் போன்ற ஊசிப் பகுதியில் ஏதேனும் மாற்றங்களைச் செய்யும்போது தையல் இயந்திரத்தை அணைக்கவும்.
- அறிவுறுத்தல் கையேட்டில் குறிப்பிடப்பட்டுள்ள அட்டைகளை அகற்றும் போது, மசகு எண்ணெய் அல்லது வேறு ஏதேனும் பயனர் சேவை சரிசெய்தல் செய்யும் போது, எப்பொழுதும் தையல் இயந்திரத்தை மின் நிலையத்திலிருந்து துண்டிக்கவும்.
- எந்தவொரு திறப்பிலும் எந்தவொரு பொருளையும் கைவிடவோ அல்லது செருகவோ கூடாது.
- வெளியில் பயன்படுத்த வேண்டாம்.
- ஏரோசல் (ஸ்ப்ரே) தயாரிப்புகள் பயன்படுத்தப்படும் இடத்தில் அல்லது ஆக்ஸிஜன் நிர்வகிக்கப்படும் இடத்தில் செயல்பட வேண்டாம்.
- துண்டிக்க, அனைத்து கட்டுப்பாடுகளையும் ஆஃப் நிலைக்கு மாற்றவும், பின்னர் அவுட்லெட்டில் இருந்து பிளக்கை அகற்றவும்.
3. தொகுப்பு உள்ளடக்கங்கள்
தொகுப்பில் அனைத்து கூறுகளும் இருப்பதை உறுதிசெய்யவும்:
- Brother CP2160F Computerized Sewing Machine
- பவர் கார்ட்
- கால் கட்டுப்பாட்டாளர்
- Accessory Bag (containing bobbins, needle set, twin needle, screwdriver, spool caps, extra spool pin, seam ripper, cleaning brush)
- 7 தையல் பாதங்கள்: Buttonhole foot, Zipper foot, Blind stitch foot, Button sewing foot, Overcasting foot, Monogramming foot, Zigzag foot (on machine)
- அறிவுறுத்தல் கையேடு (இந்த ஆவணம்)
4 அமைவு
4.1 மின் இணைப்பு
- இயந்திரத்தை ஒரு நிலையான, தட்டையான மேற்பரப்பில் வைக்கவும்.
- Insert the machine plug into the jack on the right side of the machine.
- Insert the power supply plug into a standard electrical outlet.
- Turn on the main power switch, located on the right side of the machine. The LCD screen will illuminate.
4.2 பாபின் வைண்டிங்
- ஸ்பூல் பின்னில் ஒரு ஸ்பூல் நூலை வைக்கவும்.
- Guide the thread through the upper thread guide and around the pre-tension disc.
- Place an empty bobbin onto the bobbin winder shaft and push it to the right.
- Wrap the thread clockwise around the bobbin a few times.
- Press the foot controller (or Start/Stop button) to begin winding. The machine will stop automatically when the bobbin is full.
- Cut the thread, push the bobbin winder shaft to the left, and remove the wound bobbin.
4.3 Threading the Machine (Upper Thread)
- பிரசர் கால் நெம்புகோலை உயர்த்தவும்.
- ஸ்பூல் பின்னில் ஒரு ஸ்பூல் நூலை வைக்கவும்.
- மேல் நூல் வழிகாட்டி வழியாக நூலை வழிநடத்தவும்.
- இயந்திரத்தில் சுட்டிக்காட்டப்பட்ட எண்ணிடப்பட்ட த்ரெட்டிங் பாதையைப் பின்பற்றவும், த்ரெட் டென்ஷன் டிஸ்க்குகள் வழியாகச் சென்று லீவரை எடுத்துக்கொள்வதை உறுதிசெய்யவும்.
- Use the advanced needle threading system: Lower the presser foot, lower the needle, then push down the needle threader lever to engage it. Guide the thread through the hook and release the lever.
- ஊசியின் காது வழியாக நூல் வளையத்தை இழுக்கவும்.
4.4 ஊசி நிறுவல்
- இயந்திர சக்தியை அணைக்கவும்.
- ஊசி cl ஐ தளர்த்தவும்amp அதை கடிகார திசையில் திருப்புவதன் மூலம் திருகுங்கள்.
- பழைய ஊசியை அகற்று.
- புதிய ஊசியை இயந்திரத்தின் பின்புறம் தட்டையான பக்கமாக இருக்கும்படி செருகவும், அது முடிந்தவரை மேலே தள்ளவும்.
- ஊசி cl இறுக்கamp பாதுகாப்பாக திருகு.
5. ஆபரேஷன்
5.1 தையல் தேர்வு
The CP2160F features 60 built-in stitches. Use the stitch selector buttons (usually '+' and '-') to navigate through the stitch patterns displayed on the LCD screen. The recommended stitch length and width will be displayed automatically, but can be adjusted if desired.
5.2 தானியங்கி பட்டன் துளைகள்
This machine includes 7 auto-size buttonhole styles. Attach the buttonhole foot. Place the button you wish to match into the buttonhole foot's holder. Select the desired buttonhole stitch. The machine will automatically sew a buttonhole to the correct size.
5.3 Free-Arm Sewing
To convert to free-arm sewing, slide off the accessory box located at the front of the machine. This exposes the free arm, ideal for sewing cylindrical items like cuffs, sleeves, and pant hems.
5.4 தடிமனான துணிகளைத் தைத்தல்
The CP2160F's robust feed system and fixed needle bar are designed to handle thick materials such as denim and tweed. Ensure you use the correct needle type and size for the fabric thickness to prevent needle breakage and ensure smooth feeding.
5.5 Using Included Sewing Feet
The machine comes with seven specialized sewing feet. Refer to the specific stitch instructions for which foot to use. To change a presser foot:
- ஊசி மற்றும் அழுத்தி பாதத்தை உயர்த்தவும்.
- Press the black lever at the back of the presser foot holder to release the current foot.
- Align the new foot with the pin on the presser foot holder and lower the presser foot lever until it snaps into place.
6. பராமரிப்பு
6.1 இயந்திரத்தை சுத்தம் செய்தல்
வழக்கமான சுத்தம் செய்தல் உகந்த செயல்திறனை பராமரிக்க உதவுகிறது. சுத்தம் செய்வதற்கு முன்பு எப்போதும் இயந்திரத்தை துண்டிக்கவும்.
- நாய்களுக்கு உணவளிக்கவும்: Remove the needle plate and use the cleaning brush to remove lint and dust from the feed dogs and bobbin area.
- Hook Race: Carefully remove the bobbin case and clean the hook race area with the brush.
- வெளிப்புறம்: Wipe the exterior surfaces with a soft, dry cloth. Do not use liquid cleaners or harsh chemicals.
Note: This machine does not require user lubrication.
7. சரிசெய்தல்
வாடிக்கையாளர் ஆதரவைத் தொடர்புகொள்வதற்கு முன், மீண்டும்view these common issues and their solutions:
| பிரச்சனை | சாத்தியமான காரணம் | தீர்வு |
|---|---|---|
| ஊசி உடைக்கிறது | Incorrect needle size/type for fabric; bent needle; needle not fully inserted; pulling fabric while sewing. | Use correct needle; replace bent needle; re-insert needle correctly; guide fabric gently. |
| தவிர்க்கப்பட்ட தையல்கள் | Needle bent or dull; incorrect needle insertion; improper threading; wrong needle for fabric. | Replace needle; re-insert needle; re-thread machine; use appropriate needle. |
| Thread jams | Improper threading; lint in bobbin case; bobbin wound unevenly. | Re-thread machine; clean bobbin area; re-wind bobbin evenly. |
| இயந்திரம் இயங்கவில்லை | Power cord not connected; power switch off; electrical outlet issue. | Check power cord connections; ensure switch is ON; test outlet with another appliance. |
8. விவரக்குறிப்புகள்
- மாதிரி: Brother CP2160F
- தையல் எண்ணிக்கை: 60 உள்ளமைக்கப்பட்ட தையல்கள்
- பட்டன்ஹோல்கள்: 7 One-step auto-size buttonholes
- ஊசி நூல் தைப்பான்: Advanced Needle Threading System
- காட்சி: எல்சிடி திரை
- Sewing Area: Free-arm capability
- ஊட்ட அமைப்பு: Exceptional feed for thick fabrics
- சேர்க்கப்பட்ட பாதங்கள்: 7 (Buttonhole, Zipper, Blind Stitch, Button Sewing, Overcasting, Monogramming, Zigzag)
- நிறம்: வெள்ளை
- பொருள்: உலோகம், பிளாஸ்டிக்
- தயாரிப்பு பரிமாணங்கள் (D x W x H): 6.65" x 12.2" x 16.26"
- பொருளின் எடை: 226 Ounces (approx. 14.1 lbs)
- சக்தி ஆதாரம்: கம்பியூட்டப்பட்ட மின்சாரம்
- UPC: 196271536956
9. வாடிக்கையாளர் ஆதரவு மற்றும் உத்தரவாதம்
For technical assistance, warranty information, or service inquiries, please contact Brother customer support. Refer to the official Brother website or the documentation included with your purchase for the most current contact details and warranty terms.
ஆன்லைன் ஆதரவு: www.brother-usa.com/support
குறிப்பு: உத்தரவாத விதிமுறைகள் பிராந்தியம் மற்றும் சில்லறை விற்பனையாளரைப் பொறுத்து மாறுபடலாம். உத்தரவாதக் கோரிக்கைகளுக்கு உங்கள் வாங்கியதற்கான ஆதாரத்தை வைத்திருங்கள்.