1 அமைவு
This section guides you through the initial setup of your CHUWI CoreBook X laptop.
1.1 அன்பாக்சிங் மற்றும் ஆரம்ப பவர் ஆன்
- மடிக்கணினி மற்றும் அதன் அனைத்து பாகங்களையும் பேக்கேஜிங்கிலிருந்து கவனமாக அகற்றவும்.
- Connect the provided USB-C power adapter to the laptop's USB-C port (PD Charging/USB 2.0) and then to a power outlet.
- Open the laptop lid. The laptop may power on automatically or you may need to press the power button located on the keyboard.
- Follow the on-screen instructions to complete the Windows 11 Pro initial setup, including language selection, network connection, and user account creation.
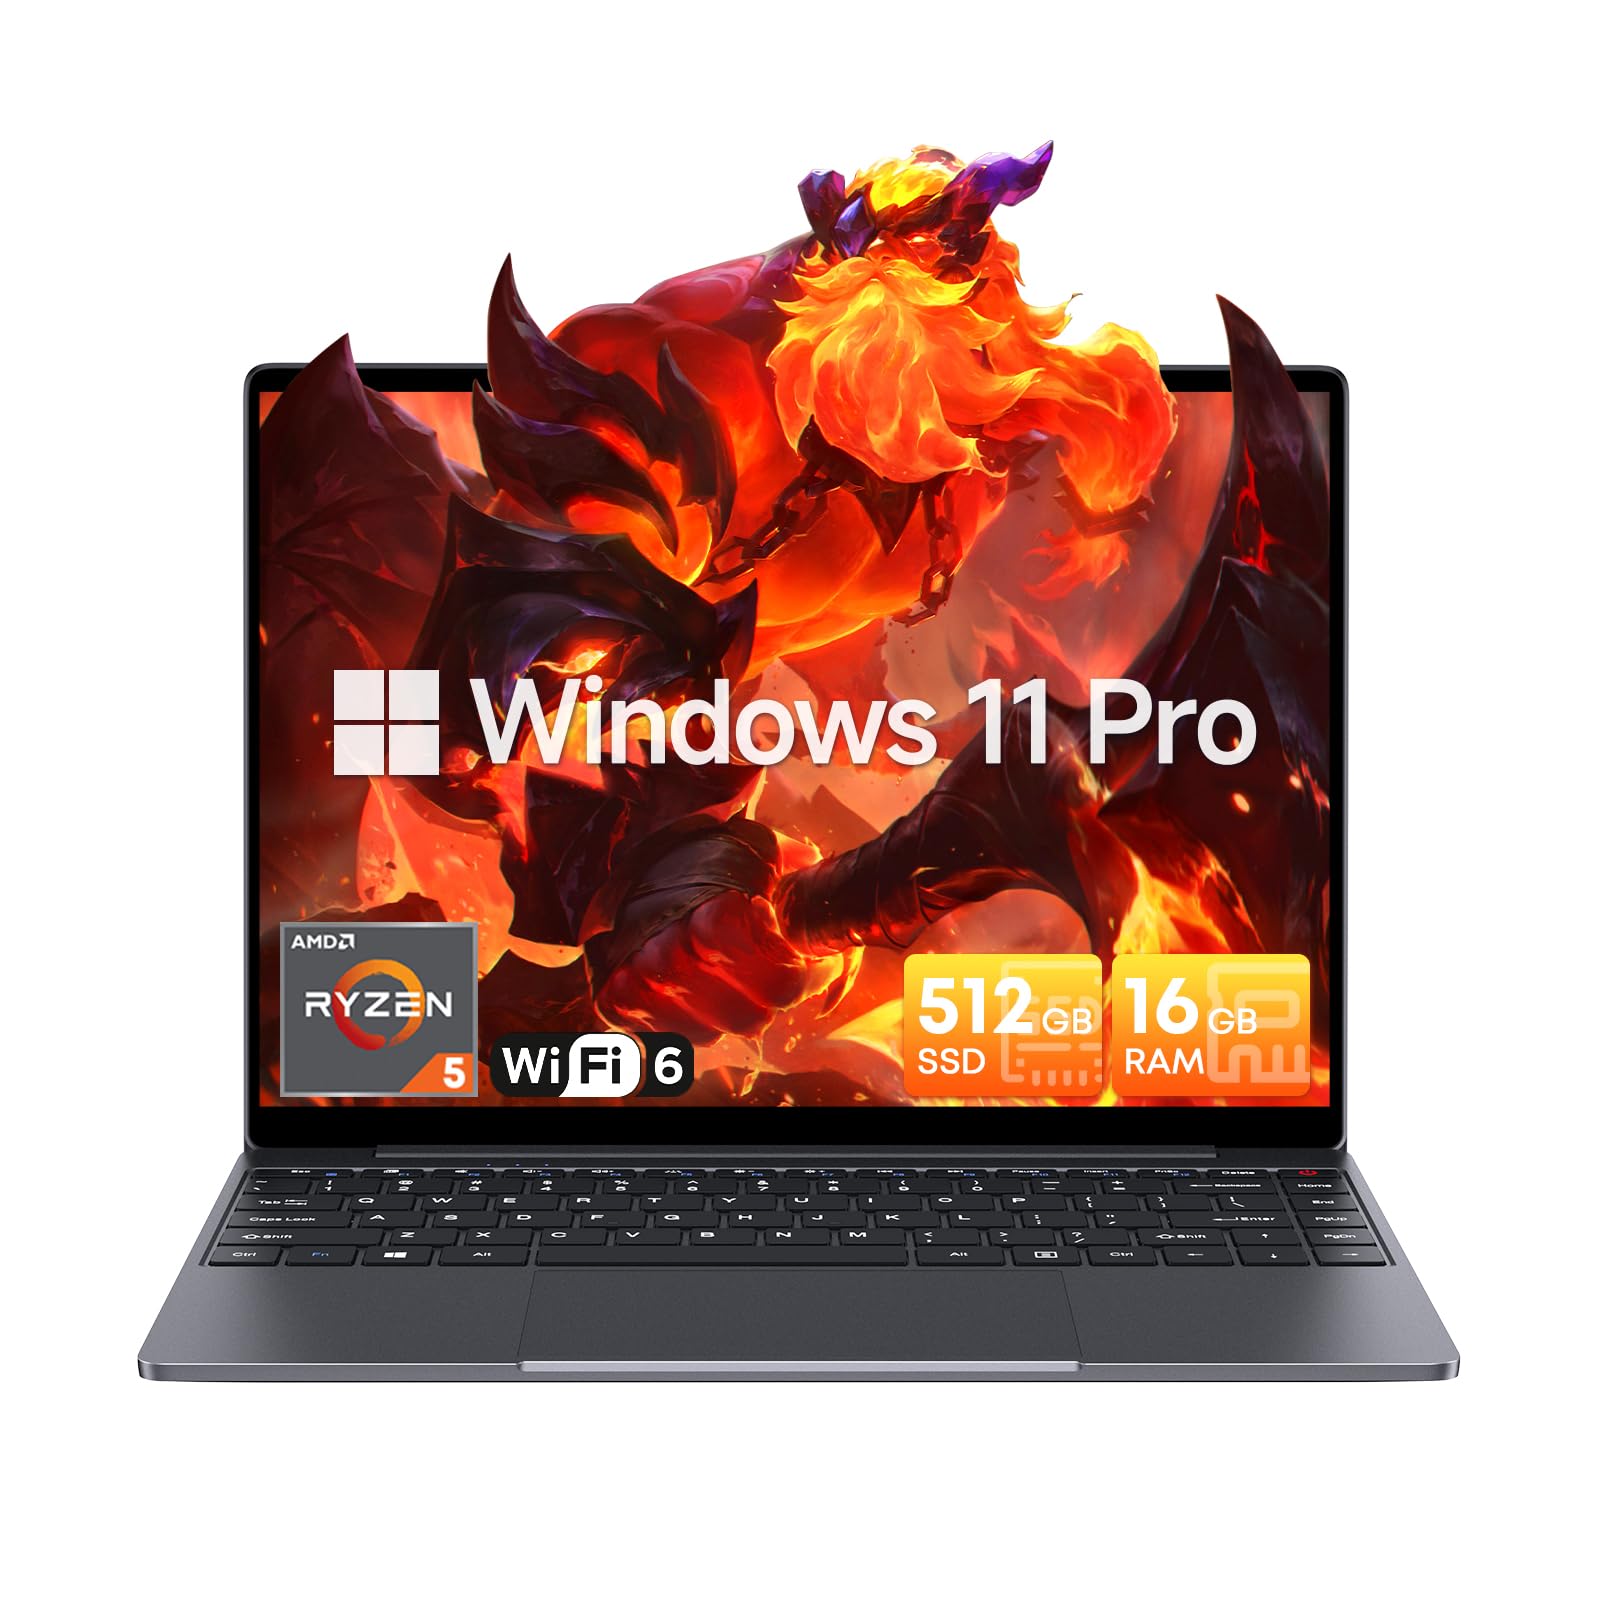
Image: The CHUWI CoreBook X laptop open on a desk, ready for use.
1.2 பெரிஃபெரல்களை இணைக்கிறது
- USB சாதனங்கள்: Connect USB mice, keyboards, or external storage devices to the available USB 3.0 ports.
- வெளிப்புற காட்சி: Use the HDMI 1.4 port or the full-featured USB Type-C port to connect an external monitor.
- ஆடியோ சாதனங்கள்: ஹெட்ஃபோன்கள் அல்லது வெளிப்புற ஸ்பீக்கர்களை 3.5மிமீ ஆடியோ ஜாக்குடன் இணைக்கவும்.
- TF அட்டை: Insert a TF card into the TF card slot for additional storage.

படம்: விரிவானது view of the laptop's ports, including TF Card Slot, 3.5mm Headphone Jack, USB 3.0 Port, Lock Slot, USB Type-C (PD Charging/USB 2.0), HDMI 1.4, and Full-featured USB Type-C Port.
1.3 Network and Bluetooth Connection
- வைஃபை 6: வயர்லெஸ் நெட்வொர்க்குடன் இணைக்க, பணிப்பட்டியில் உள்ள வைஃபை ஐகானைக் கிளிக் செய்து, உங்கள் நெட்வொர்க்கைத் தேர்ந்தெடுத்து, கடவுச்சொல்லை உள்ளிடவும்.
- புளூடூத் 5.2: To pair Bluetooth devices, go to Windows Settings > Bluetooth & devices, turn on Bluetooth, and select your device to pair.
2. இயங்குகிறது
This section covers the basic operation of your CHUWI CoreBook X laptop.
2.1 சக்தி மேலாண்மை
- பவர் ஆன்: ஆற்றல் பொத்தானை அழுத்தவும்.
- தூக்க முறை: மூடியை மூடு அல்லது தொடக்க மெனுவிலிருந்து "தூக்கம்" என்பதைத் தேர்ந்தெடுக்கவும்.
- மூடு: Select "Shut down" from the Start menu.
- மறுதொடக்கம்: Select "Restart" from the Start menu.
2.2 விசைப்பலகை மற்றும் டச்பேட்
- The laptop features a full-sized backlit keyboard with white illumination. Use the function keys (Fn) in combination with other keys for shortcuts like adjusting brightness, volume, or toggling the backlight.
- The large touchpad supports multi-touch gestures for navigation. Refer to Windows settings for customizing touchpad gestures.

படம்: ஒரு நெருக்கமான படம் view of the laptop's backlit keyboard and large touchpad, highlighting its navigation features.
2.3 காட்சி மற்றும் ஆடியோ
- The 14-inch IPS display offers a 2160*1440 resolution. Adjust display settings (brightness, resolution, scaling) through Windows Display Settings.
- The laptop is equipped with stereo speakers. Volume can be controlled via the keyboard function keys or the Windows sound settings.
- An HD webcam is integrated for video conferencing.

Image: The laptop's 14-inch 2K IPS display showcasing vibrant colors and a comparison of 3:2 and 16:9 aspect ratios.
2.4 காணொளி முடிந்ததுview
Video: An official product video demonstrating various features and usage scenarios of the CHUWI CoreBook X laptop, including its performance, display, and connectivity options.
3. பராமரிப்பு
சரியான பராமரிப்பு உங்கள் மடிக்கணினியின் நீண்ட ஆயுளையும் உகந்த செயல்திறனையும் உறுதி செய்கிறது.
3.1 சுத்தம் செய்தல்
- திரையை சுத்தம் செய்ய மென்மையான, பஞ்சு இல்லாத துணியைப் பயன்படுத்தவும். பிடிவாதமான அடையாளங்களுக்கு, dampதுணியை சிறிது தண்ணீர் அல்லது திரை-பாதுகாப்பான கிளீனரால் நனைக்கவும்.
- Wipe the chassis and keyboard with a soft, dry cloth. Avoid using harsh chemicals or abrasive materials.
- Periodically use compressed air to clear dust from the vents to maintain efficient cooling.
3.2 பேட்டரி பராமரிப்பு
- Avoid fully discharging the battery frequently. Charge the laptop when the battery level is low.
- Store the laptop in a cool, dry place if not used for extended periods, with the battery charged to around 50-70%.
- Use only the original or certified compatible USB-C PD charger.
3.3 சேமிப்பு மற்றும் நினைவக மேம்பாடுகள்
The laptop supports RAM and SSD upgrades.
- The 16GB DDR4 RAM can be expanded up to 64GB via 2 SODIMM slots.
- The 512GB PCIe SSD can be expanded up to 2TB using the M.2 2280 PCIe slot.
- A convenient detachable bottom cover allows for easier access to upgrade components without removing the entire back panel.

Image: The underside of the laptop with the detachable cover removed, revealing the dual-channel SO-DIMM slot for RAM upgrades.
4. சரிசெய்தல்
இந்தப் பிரிவு நீங்கள் சந்திக்கும் பொதுவான பிரச்சினைகளுக்கான தீர்வுகளை வழங்குகிறது.
4.1 பொதுவான சிக்கல்கள் மற்றும் தீர்வுகள்
- மடிக்கணினி இயக்கப்படவில்லை:
- மடிக்கணினி மற்றும் வேலை செய்யும் மின் நிலையத்துடன் பவர் அடாப்டர் பாதுகாப்பாக இணைக்கப்பட்டுள்ளதா என்பதை உறுதிப்படுத்திக் கொள்ளுங்கள்.
- பவர் அவுட்லெட் செயல்படுகிறதா என்று சரிபார்க்கவும்.
- கடின மீட்டமைப்பைச் செய்ய பவர் பட்டனை 10-15 வினாடிகள் அழுத்திப் பிடிக்கவும்.
- காட்சி சிக்கல்கள் (படம் இல்லை, மினுமினுப்பு):
- Adjust screen brightness using function keys.
- வெளிப்புற மானிட்டர் இணைக்கப்பட்டிருந்தால், அதைத் துண்டிக்க முயற்சிக்கவும்.
- மடிக்கணினியை மறுதொடக்கம் செய்யவும்.
- Wi-Fi or Bluetooth connectivity problems:
- விண்டோஸ் அமைப்புகளில் வைஃபை/ப்ளூடூத் இயக்கப்பட்டிருப்பதை உறுதிசெய்யவும்.
- வைஃபை சிக்கல்களுக்கு உங்கள் ரூட்டர்/மோடமை மறுதொடக்கம் செய்யுங்கள்.
- Remove and re-pair Bluetooth devices.
- Update network and Bluetooth drivers through Device Manager.
- மெதுவான செயல்திறன்:
- பின்னணியில் இயங்கும் தேவையற்ற பயன்பாடுகளை மூடு.
- விண்டோஸ் புதுப்பிப்புகள் மற்றும் இயக்கி புதுப்பிப்புகளைச் சரிபார்க்கவும்.
- SSD-யில் போதுமான இடவசதி இருப்பதை உறுதிசெய்யவும்.
- தீம்பொருள் ஸ்கேன் இயக்கவும்.
If you encounter issues not covered here or require further assistance, please refer to the Support section.
5. விவரக்குறிப்புகள்
Detailed technical specifications for the CHUWI CoreBook X laptop.

Image: An illustration of the AMD Ryzen 5 processor, highlighting its core count, threads, and clock speed.
| அம்சம் | விவரக்குறிப்பு |
|---|---|
| மாதிரி பெயர் | Corebook X |
| செயலி | AMD Ryzen 5 (6 Cores, 12 Threads, up to 4.3 GHz) |
| கிராபிக்ஸ் | AMD Radeon Graphics (1800MHz, Max 2GB Memory) |
| ரேம் | 16GB DDR4 (Expandable up to 64GB via 2 SODIMM slots) |
| சேமிப்பு | 512GB PCIe SSD (Expandable up to 2TB via M.2 2280 PCIe slot) |
| காட்சி | 14-inch IPS, 2160*1440 Resolution, 100% sRGB Color Gamut |
| இயக்க முறைமை | விண்டோஸ் 11 ப்ரோ |
| இணைப்பு | வைஃபை 6 (802.11ax), புளூடூத் 5.2 |
| துறைமுகங்கள் | USB Type-C (PD Charging/USB 2.0), USB 3.0, HDMI 1.4, Full-featured USB Type-C, 3.5mm Audio Jack, TF Card Slot, Lock Slot |
| பேட்டரி | 46.2Wh Lithium-Ion Battery, 65W USB-C PD Fast Charging |
| விசைப்பலகை | Full-sized Backlit Keyboard with White Illumination |
| டச்பேட் | Large Touchpad, Multi-touch |
| Webகேமரா | HD Webகேமரா |
| பரிமாணங்கள் | 12.2"L x 9"W x 0.67"Th (17mm thin) |
| எடை | 2.2 பவுண்டுகள் (1.4 கிலோ) |
6. உத்தரவாதம்
The CHUWI CoreBook X laptop comes with a 1 வருட உற்பத்தியாளரின் உத்தரவாதம்.
This warranty covers defects in materials and workmanship under normal use. It does not cover damage caused by accidents, misuse, unauthorized repairs, or modifications. Please retain your proof of purchase for warranty claims.
7. ஆதரவு
For technical assistance, warranty claims, or further inquiries, please contact CHUWI customer support.
- உற்பத்தியாளர் ஆதரவு: Visit the official CHUWI webஆதரவு வளங்கள், அடிக்கடி கேட்கப்படும் கேள்விகள் மற்றும் தொடர்புத் தகவல்களுக்கான தளம்.
- விற்பனையாளர் ஆதரவு: If purchased through a retailer, you may also contact the seller for assistance.