1. அறிமுகம்
This manual provides comprehensive instructions for the setup, operation, maintenance, and troubleshooting of your KLIM Discman Portable CD Player. This device is designed for playing audio CDs, CD-R, CD-RW, and MP3 discs, offering a versatile listening experience. Please read this manual thoroughly before using the product to ensure proper function and longevity.

Image 1.1: KLIM Discman with headphones and accessories.
2. தொகுப்பு உள்ளடக்கங்கள்
தொகுப்பில் அனைத்து பொருட்களும் உள்ளதா என சரிபார்க்கவும்:
- KLIM Discman CD Player
- KLIM Headset (Foldable Headphones)
- Earphone Accessories
- USB-C சார்ஜிங் கேபிள்
- கேரி பை
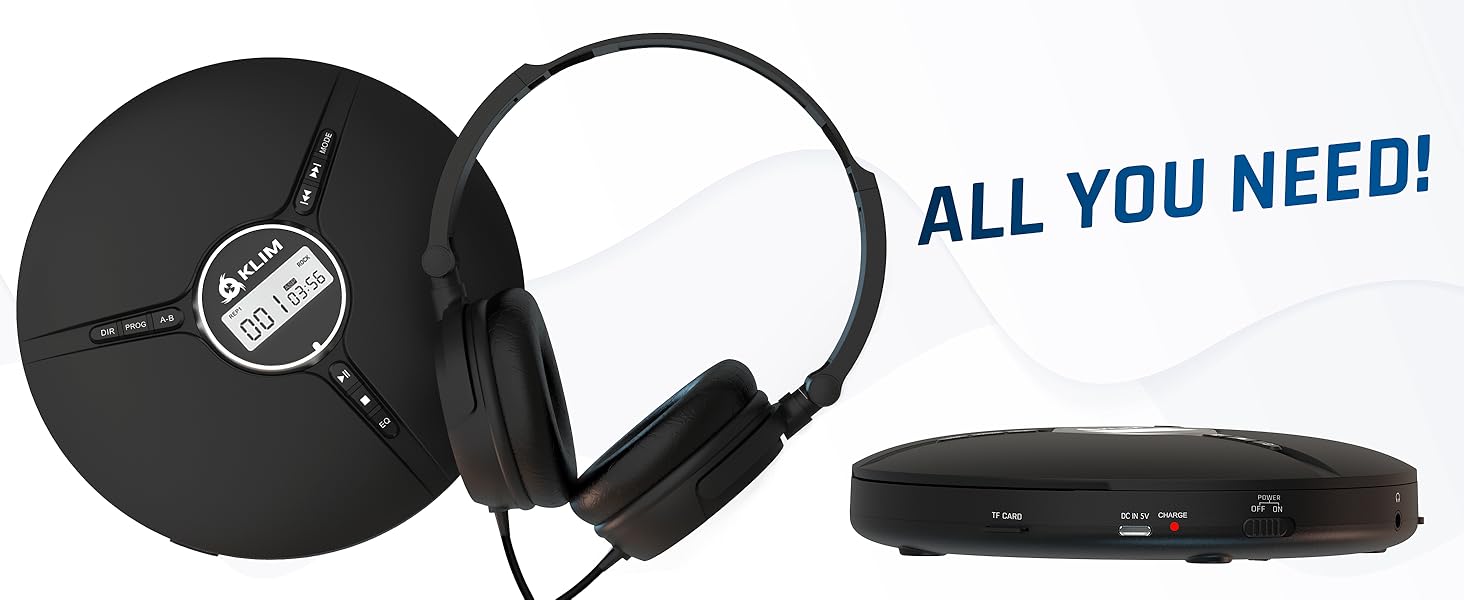
Image 2.1: All included components.
3. தயாரிப்பு முடிந்துவிட்டதுview
Familiarize yourself with the various parts and controls of your KLIM Discman.

Image 3.1: Labeled diagram of the KLIM Discman controls and ports.
கட்டுப்பாடுகள் மற்றும் துறைமுகங்கள்:
- டிஜிட்டல் காட்சி: Shows track number, time, and playback status.
- DIR பொத்தான்: Directory navigation for MP3 discs.
- ப்ரோக் பட்டன்: Program playback order.
- ஏபி பட்டன்: Repeat a specific section of audio.
- பயன்முறை பொத்தான்: Selects playback modes (e.g., repeat one, repeat all).
- Previous/Rewind Button (◀◀): Skips to the previous track or rewinds current track.
- Next/Fast Forward Button (▶▶): Skips to the next track or fast forwards current track.
- ப்ளே/இடைநிறுத்து பட்டன் (▶/‖‖): பிளேபேக்கைத் தொடங்குகிறது அல்லது இடைநிறுத்துகிறது.
- நிறுத்து பொத்தான் (■): பிளேபேக்கை நிறுத்துகிறது.
- EQ பொத்தான்: பல்வேறு சமநிலை முன்னமைவுகள் வழியாக சுழற்சிகள்.
- ஒலியளவு கட்டுப்பாடு: ஆடியோ வெளியீட்டு அளவை சரிசெய்கிறது.
- AUX / Jack 3.5 mm Input: வெளிப்புற ஆடியோ சாதனங்கள் அல்லது ஹெட்ஃபோன்களை இணைப்பதற்கு.
- TF அட்டை ஸ்லாட்: For inserting a MicroSD card (up to 32 GB) for MP3 playback.
- USB-C சார்ஜிங் போர்ட்: உள் பேட்டரியை சார்ஜ் செய்வதற்கு.
- ON/OFF and HOLD Button: Powers the device on/off and locks buttons to prevent accidental presses.
4 அமைவு
4.1. பேட்டரியை சார்ஜ் செய்தல்
The KLIM Discman features a built-in rechargeable battery. Before first use, fully charge the device.
- Connect the provided USB-C charging cable to the USB-C port on the Discman.
- USB-C கேபிளின் மறுமுனையை USB பவர் அடாப்டருடன் (சேர்க்கப்படவில்லை) அல்லது கணினியின் USB போர்ட்டுடன் இணைக்கவும்.
- சார்ஜிங் இண்டிகேட்டர் லைட் ஒளிரும். முழுமையாக சார்ஜ் ஆனவுடன், மாடலைப் பொறுத்து லைட் நிறம் மாறலாம் அல்லது அணைந்து போகலாம்.
- முழு சார்ஜ் 14 மணிநேரம் வரை பிளேபேக்கை வழங்குகிறது.
4.2. ஒரு CD-யைச் செருகுதல்
- Gently slide the OPEN switch to open the CD compartment lid.
- Place the CD with the label side facing up onto the center spindle. Ensure the CD is securely seated.
- Close the CD compartment lid firmly until it clicks into place.
4.3. ஹெட்ஃபோன்களை இணைக்கிறது
Connect the included KLIM headset or your preferred 3.5mm headphones to the AUX / Jack 3.5 mm input port on the Discman.
4.4. Inserting a TF Card (MicroSD)
If playing MP3 files from a TF card:
- Locate the TF Card slot on the side of the Discman.
- Insert the TF card (up to 32 GB) into the slot until it clicks. Ensure the card is inserted in the correct orientation.
- அகற்ற, அட்டை வெளியே வரும் வரை மெதுவாக உள்ளே தள்ளவும்.
5. இயக்க வழிமுறைகள்
5.1. Power On/Off and Hold Function
- பவர் ஆன்: ஆன்/ஆஃப் சுவிட்சை 'ஆன்' நிலைக்கு நகர்த்தவும்.
- பவர் ஆஃப்: ஆன்/ஆஃப் சுவிட்சை 'ஆஃப்' நிலைக்கு நகர்த்தவும்.
- ஹோல்ட் செயல்பாடு: Slide the ON/OFF switch to the 'HOLD' position to lock all buttons and prevent accidental operation during transport. The display will show 'HOLD'.
5.2. அடிப்படை பின்னணி
- After powering on and inserting a CD, the player will typically begin playback automatically.
- அழுத்தவும் ▶/‖‖ பிளேபேக்கை இடைநிறுத்துவதற்கான பொத்தான். மீண்டும் தொடங்க மீண்டும் அழுத்தவும்.
- அழுத்தவும் ▶▶ button to skip to the next track. Press and hold to fast forward.
- அழுத்தவும் ◀◀ button to skip to the beginning of the current track. Press twice to skip to the previous track. Press and hold to rewind.
- அழுத்தவும் ■ பிளேபேக்கை நிறுத்த பொத்தானை அழுத்தவும்.
5.3. தொகுதி சரிசெய்தல்
Adjust the volume using the dedicated volume control buttons or dial on the device (if present, otherwise volume is controlled by connected headphones/speakers).
5.4. Equalizer (EQ) Settings
அழுத்தவும் EQ button repeatedly to cycle through available sound equalizer presets (e.g., Bass, Pop, Jazz, Rock, Classic, etc.) to customize your audio experience.
5.5. Repeat and Program Functions
- பயன்முறை பொத்தான்: Press to select different repeat modes (e.g., repeat one track, repeat all tracks, random play).
- ப்ரோக் பட்டன்: Allows you to program a specific order of tracks to play. Refer to the on-screen display for programming steps.
- ஏபி பட்டன்: Press once at the start point (A) and again at the end point (B) of a section you wish to repeat. The player will continuously loop this section. Press a third time to cancel.
- DIR Button (for MP3 discs): If your MP3 disc contains multiple folders, press DIR to navigate between directories.
5.6. TF கார்டு பிளேபேக்
If a TF card is inserted, the player may automatically switch to TF card mode or require you to press a MODE button to select it. Playback controls are similar to CD playback.
5.7. Connecting to External Audio Devices
The Discman can connect to external speakers or car audio systems via the 3.5mm AUX output. Use a 3.5mm audio cable (not included) to connect the Discman to the AUX input of your external device.

Image 5.1: Connectivity options for the KLIM Discman.
6. பராமரிப்பு
6.1. Cleaning the Discman
- பிளேயரின் வெளிப்புறத்தை மென்மையான, உலர்ந்த துணியால் துடைக்கவும்.
- சிராய்ப்பு கிளீனர்கள், கரைப்பான்கள் அல்லது வலுவான சவர்க்காரங்களைப் பயன்படுத்த வேண்டாம்.
- To clean the optical lens, use a specialized CD lens cleaning kit. Avoid touching the lens directly.
6.2. பேட்டரி பராமரிப்பு
- பேட்டரி ஆயுளை நீட்டிக்க, அடிக்கடி பேட்டரியை முழுமையாக டிஸ்சார்ஜ் செய்வதைத் தவிர்க்கவும்.
- பேட்டரியின் ஆயுளைப் பராமரிக்க, பயன்பாட்டில் இல்லாவிட்டாலும், சாதனத்தை தொடர்ந்து சார்ஜ் செய்யவும்.
- நீண்ட நேரம் பயன்பாட்டில் இல்லாதபோது, சாதனத்தை குளிர்ந்த, உலர்ந்த இடத்தில் சேமிக்கவும்.
6.3. CD and TF Card Handling
- Handle CDs by their edges to avoid fingerprints and scratches on the playing surface.
- பயன்பாட்டில் இல்லாதபோது, CD-களை அவற்றின் உறைகளிலேயே வைக்கவும்.
- Ensure TF cards are inserted and removed correctly to prevent damage to the card or slot.
7. சரிசெய்தல்
If you encounter issues with your KLIM Discman, refer to the following common problems and solutions:
| பிரச்சனை | சாத்தியமான காரணம் | தீர்வு |
|---|---|---|
| சாதனம் இயங்கவில்லை. | Battery is depleted. Device is in HOLD mode. | Charge the battery. Slide the ON/OFF switch out of 'HOLD' position. |
| CD does not play / 'DISC' error. | CD is dirty, scratched, or inserted incorrectly. Disc format is not supported. | Clean the CD. Reinsert the CD correctly. Ensure the disc is CD Audio, CD-R, CD-RW, or MP3 format. |
| ஹெட்ஃபோன்களிலிருந்து சத்தம் இல்லை. | Headphones not connected properly. Volume is too low. Headphones are faulty. | Ensure headphones are fully plugged in. Increase volume. Test with another pair of headphones. |
| Music skips or stutters. | CD is scratched or dirty. Excessive movement. | Clean the CD. The anti-shock protection buffers 100 seconds of audio, but extreme movement can still cause skips. |
| TF அட்டை அங்கீகரிக்கப்படவில்லை. | TF card inserted incorrectly. Card is corrupted or unsupported format. | Reinsert the TF card. Ensure it is formatted correctly (FAT32) and contains supported MP3 files. Max capacity 32GB. |
8. விவரக்குறிப்புகள்
Technical details for the KLIM Discman Portable CD Player.
| அம்சம் | விவரம் |
|---|---|
| மாதிரி பெயர் | KLIM Nomad |
| தயாரிப்பு பரிமாணங்கள் | 5.51 x 5.51 x 1.1 அங்குலம் |
| பொருளின் எடை | 8.1 அவுன்ஸ் |
| பேட்டரி | 1 லித்தியம் அயன் பேட்டரி (சேர்க்கப்பட்டுள்ளது) |
| பின்னணி நேரம் | 14 மணி நேரம் வரை (தோராயமாக) |
| இணக்கத்தன்மை | CD Audio, CD-R, CD-RW, MP3 |
| TF அட்டை ஆதரவு | 32 ஜிபி வரை |
| இணைப்பு | 3.5mm Auxiliary Jack, USB-C (charging) |
| சிறப்பு அம்சங்கள் | Anti-skip/Anti-shock protection (100s), Digital Equalization, HOLD function |

படம் 8.1: தயாரிப்பு பரிமாணங்கள்.
9. உத்தரவாதம் மற்றும் ஆதரவு
The KLIM Discman comes with a 5-year assurance. This warranty covers manufacturing defects and ensures the product meets quality standards for an extended period.
For technical support, warranty claims, or any questions regarding your KLIM Discman, please visit the official KLIM webஅவர்களின் வலைத்தளம் அல்லது வாடிக்கையாளர் சேவையைத் தொடர்பு கொள்ளவும். கூடுதல் தகவல்களை இங்கே காணலாம் www.klimtechs.com.
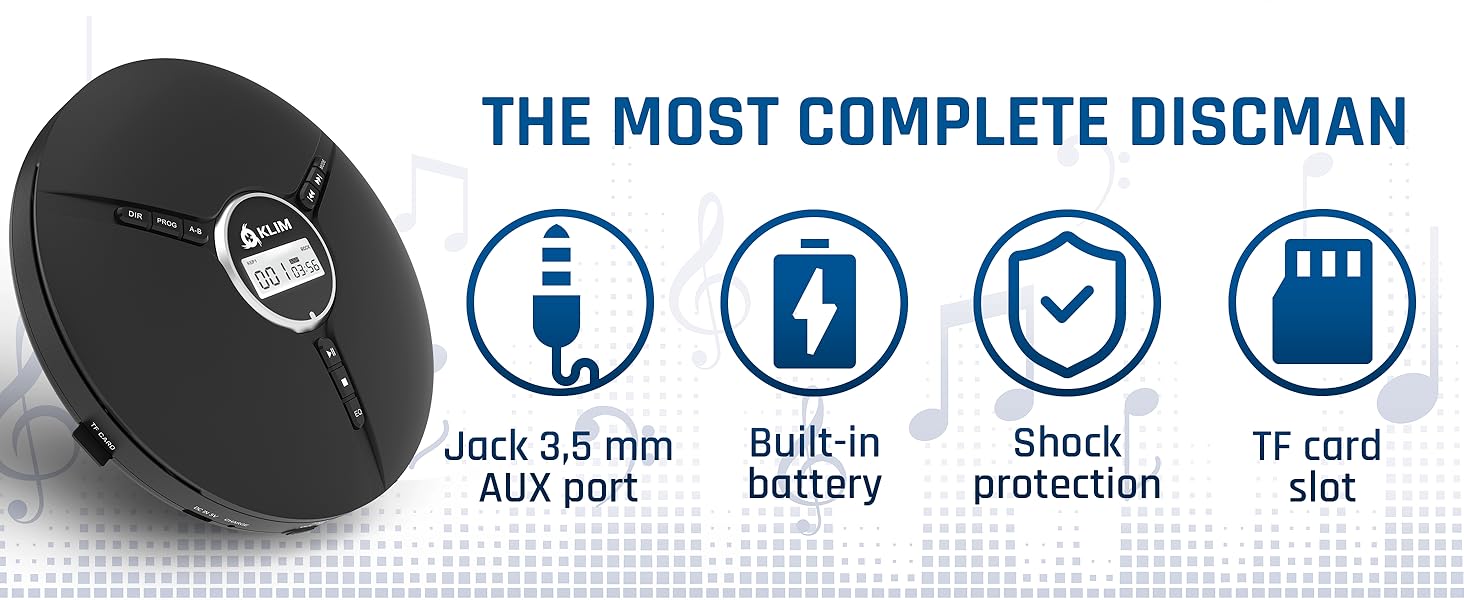
Image 9.1: Key features including shock protection and built-in battery.


