1. அறிமுகம்
This manual provides essential information for the setup, operation, maintenance, and troubleshooting of your Cooler Master TD5 Pro Gaming PC. Please read this manual thoroughly before using your new system to ensure proper functionality and longevity.
The Cooler Master TD5 Pro is a high-performance desktop computer designed for demanding gaming and professional computing tasks. It features an Intel Ultra 9 285K processor, an NVIDIA RTX 5090 32GB graphics card, 64GB DDR5 6000MHz RAM, and a 2TB Gen4 M.2 SSD, all housed in a TD 500 Mesh ARGB Case with a 360L liquid cooler and a Platinum 1100W power supply.
2. தொகுப்பு உள்ளடக்கங்கள்
தொகுப்பில் அனைத்து பொருட்களும் உள்ளதா என சரிபார்க்கவும்:
- Cooler Master TD5 Pro Gaming PC
- பவர் கேபிள்
- Water Cooling System (pre-installed)
- ஆவணங்கள் (விரைவு தொடக்க வழிகாட்டி, உத்தரவாதத் தகவல்)
- Additional accessories (e.g., Wi-Fi antenna, extra cables, screws)
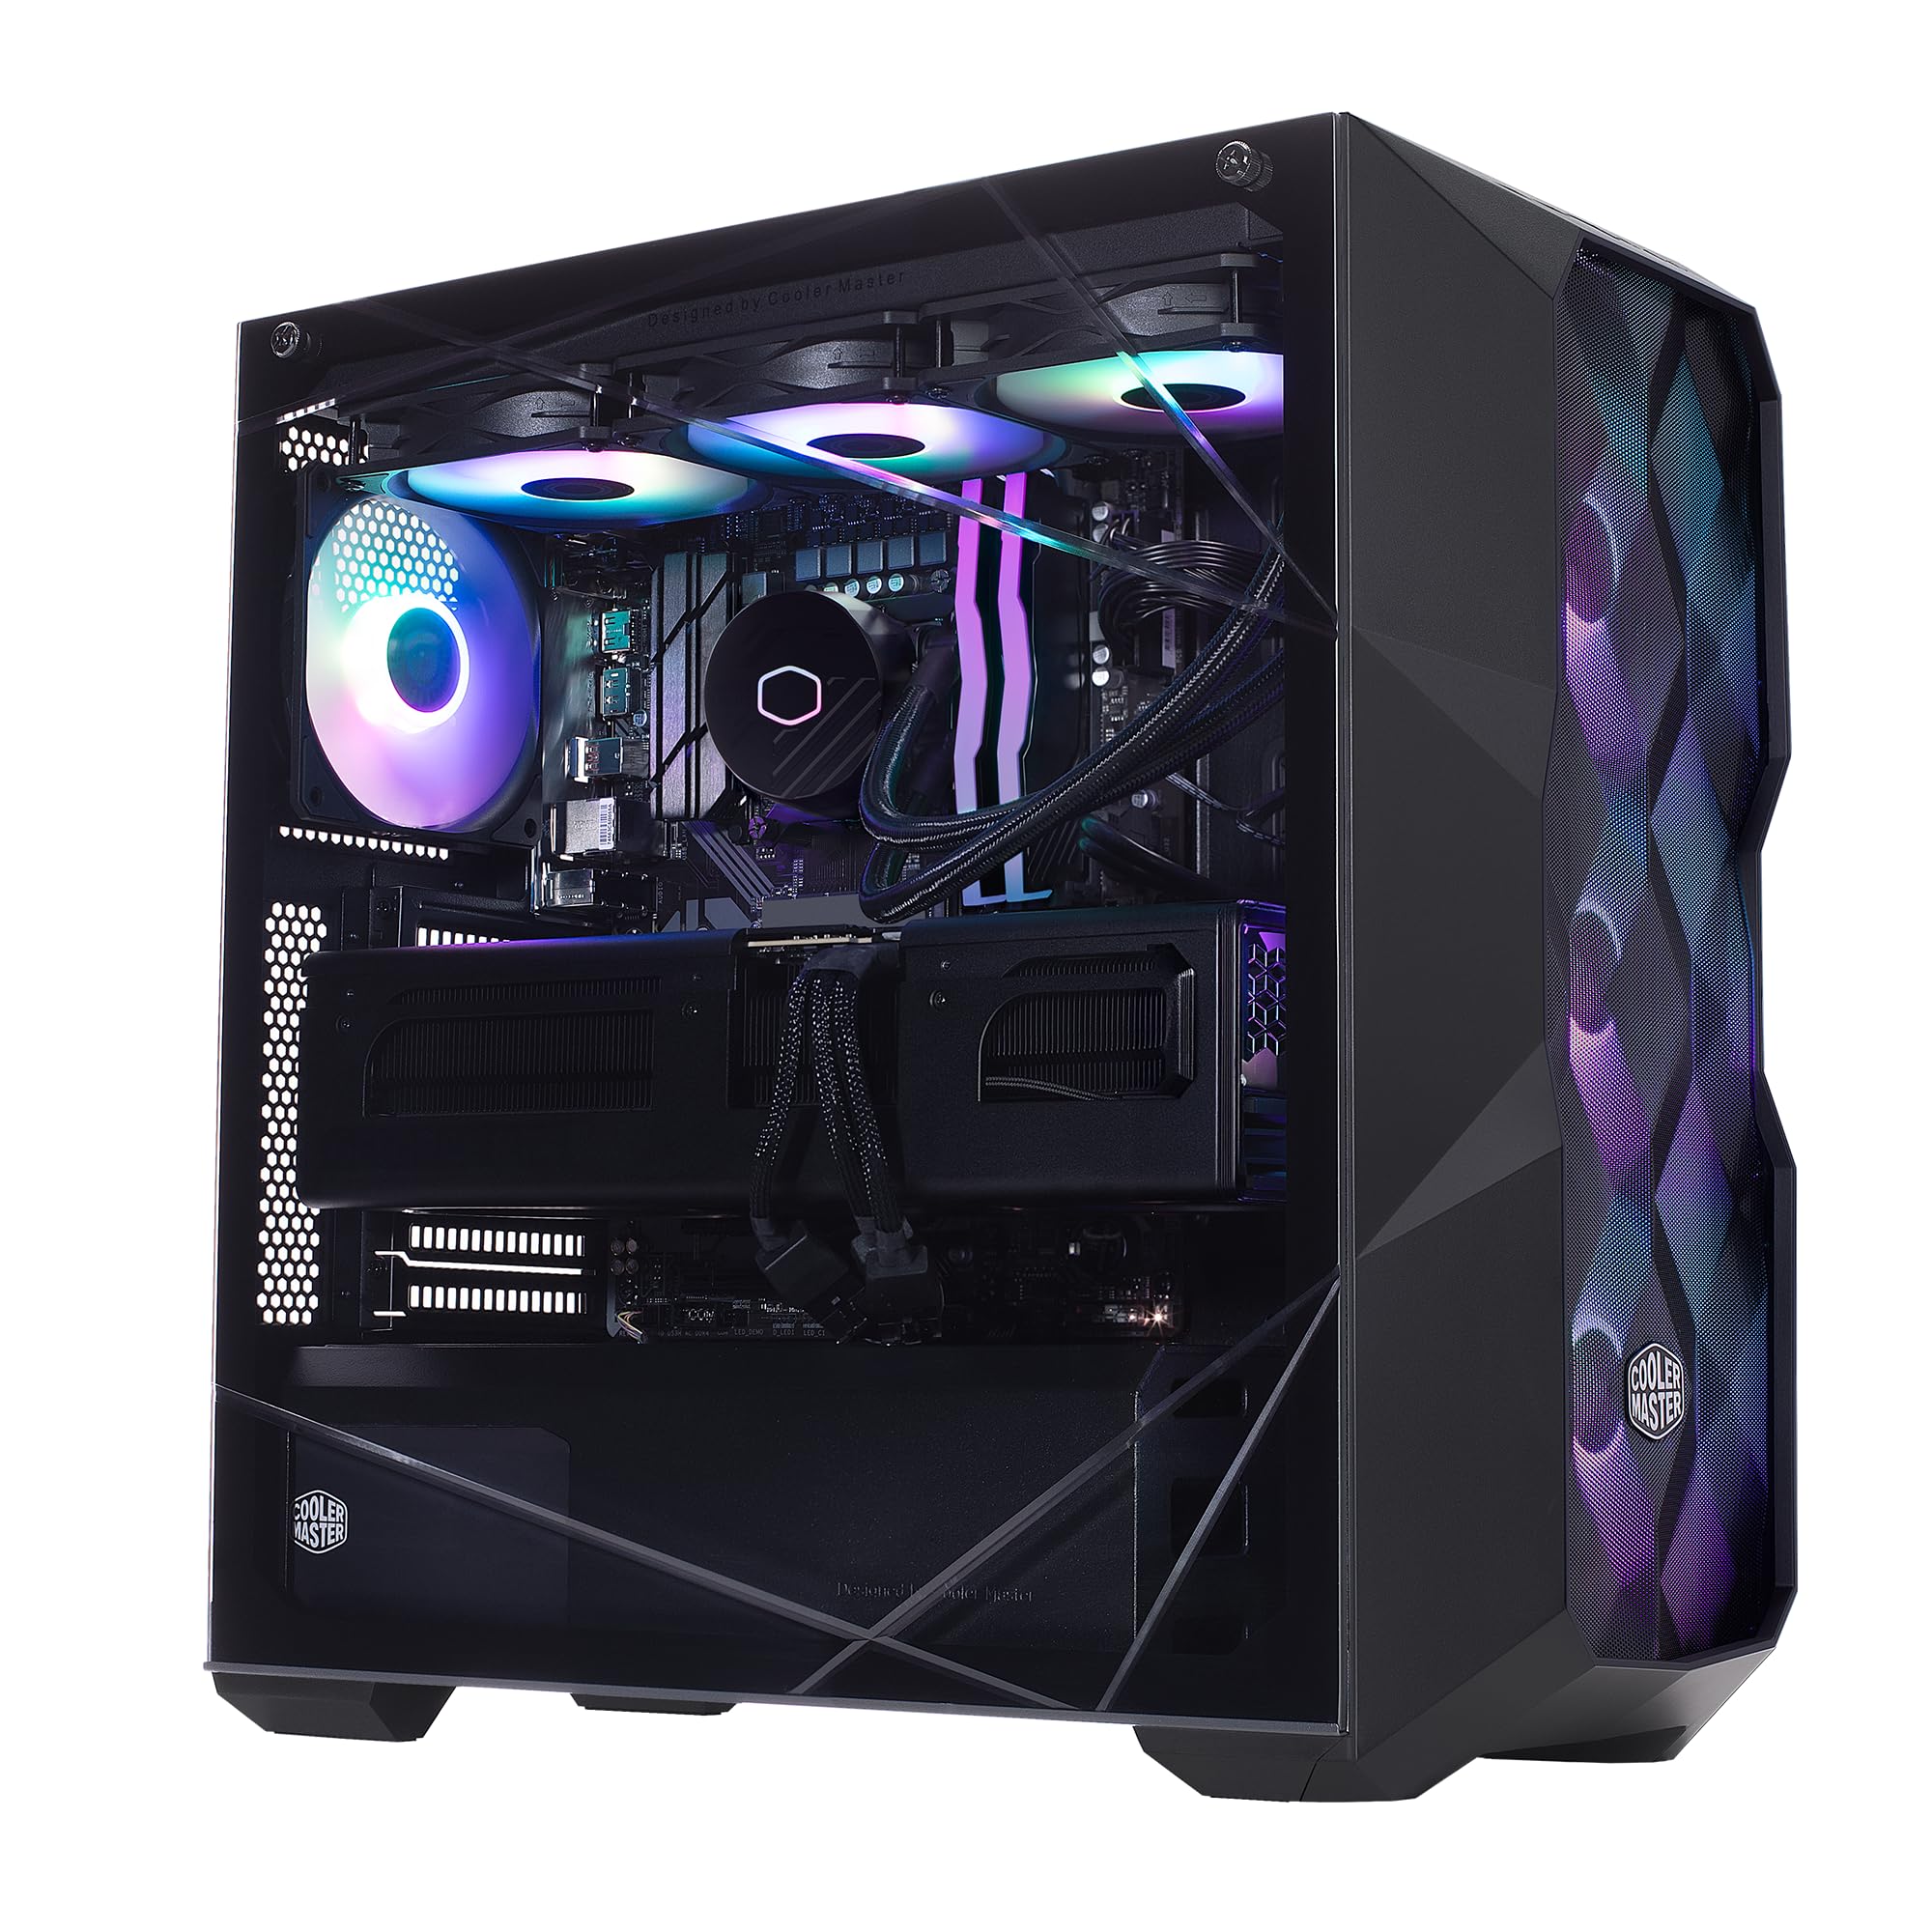
Image: The Cooler Master TD5 Pro Gaming PC, showcasing its internal components and RGB lighting.
3 அமைவு
3.1 பேக்கிங் மற்றும் பிளேஸ்மெண்ட்
- கணினியை அதன் பேக்கேஜிங்கிலிருந்து கவனமாக அகற்றவும். எதிர்கால போக்குவரத்து அல்லது சேவைக்காக அனைத்து பேக்கேஜிங் பொருட்களையும் வைத்திருங்கள்.
- Place the PC on a stable, flat surface with adequate ventilation. Ensure there is sufficient space around the case for airflow.
- Remove any internal packing materials or foam inserts from inside the PC case. Refer to the quick start guide for instructions on opening the side panel.
3.2 பெரிஃபெரல்களை இணைக்கிறது
- கண்காணிப்பு: Connect your monitor(s) to the graphics card (RTX 5090) ports (HDMI or DisplayPort). Avoid connecting to motherboard video outputs if a dedicated graphics card is present.
- விசைப்பலகை மற்றும் சுட்டி: உங்கள் விசைப்பலகை மற்றும் சுட்டியை கிடைக்கக்கூடிய USB போர்ட்களுடன் இணைக்கவும்.
- நெட்வொர்க்: Connect an Ethernet cable to the LAN port for a wired internet connection, or attach the Wi-Fi antenna(s) for wireless connectivity.
- சக்தி: Connect the power cable to the power supply unit (PSU) at the rear of the PC, then plug it into a grounded electrical outlet.
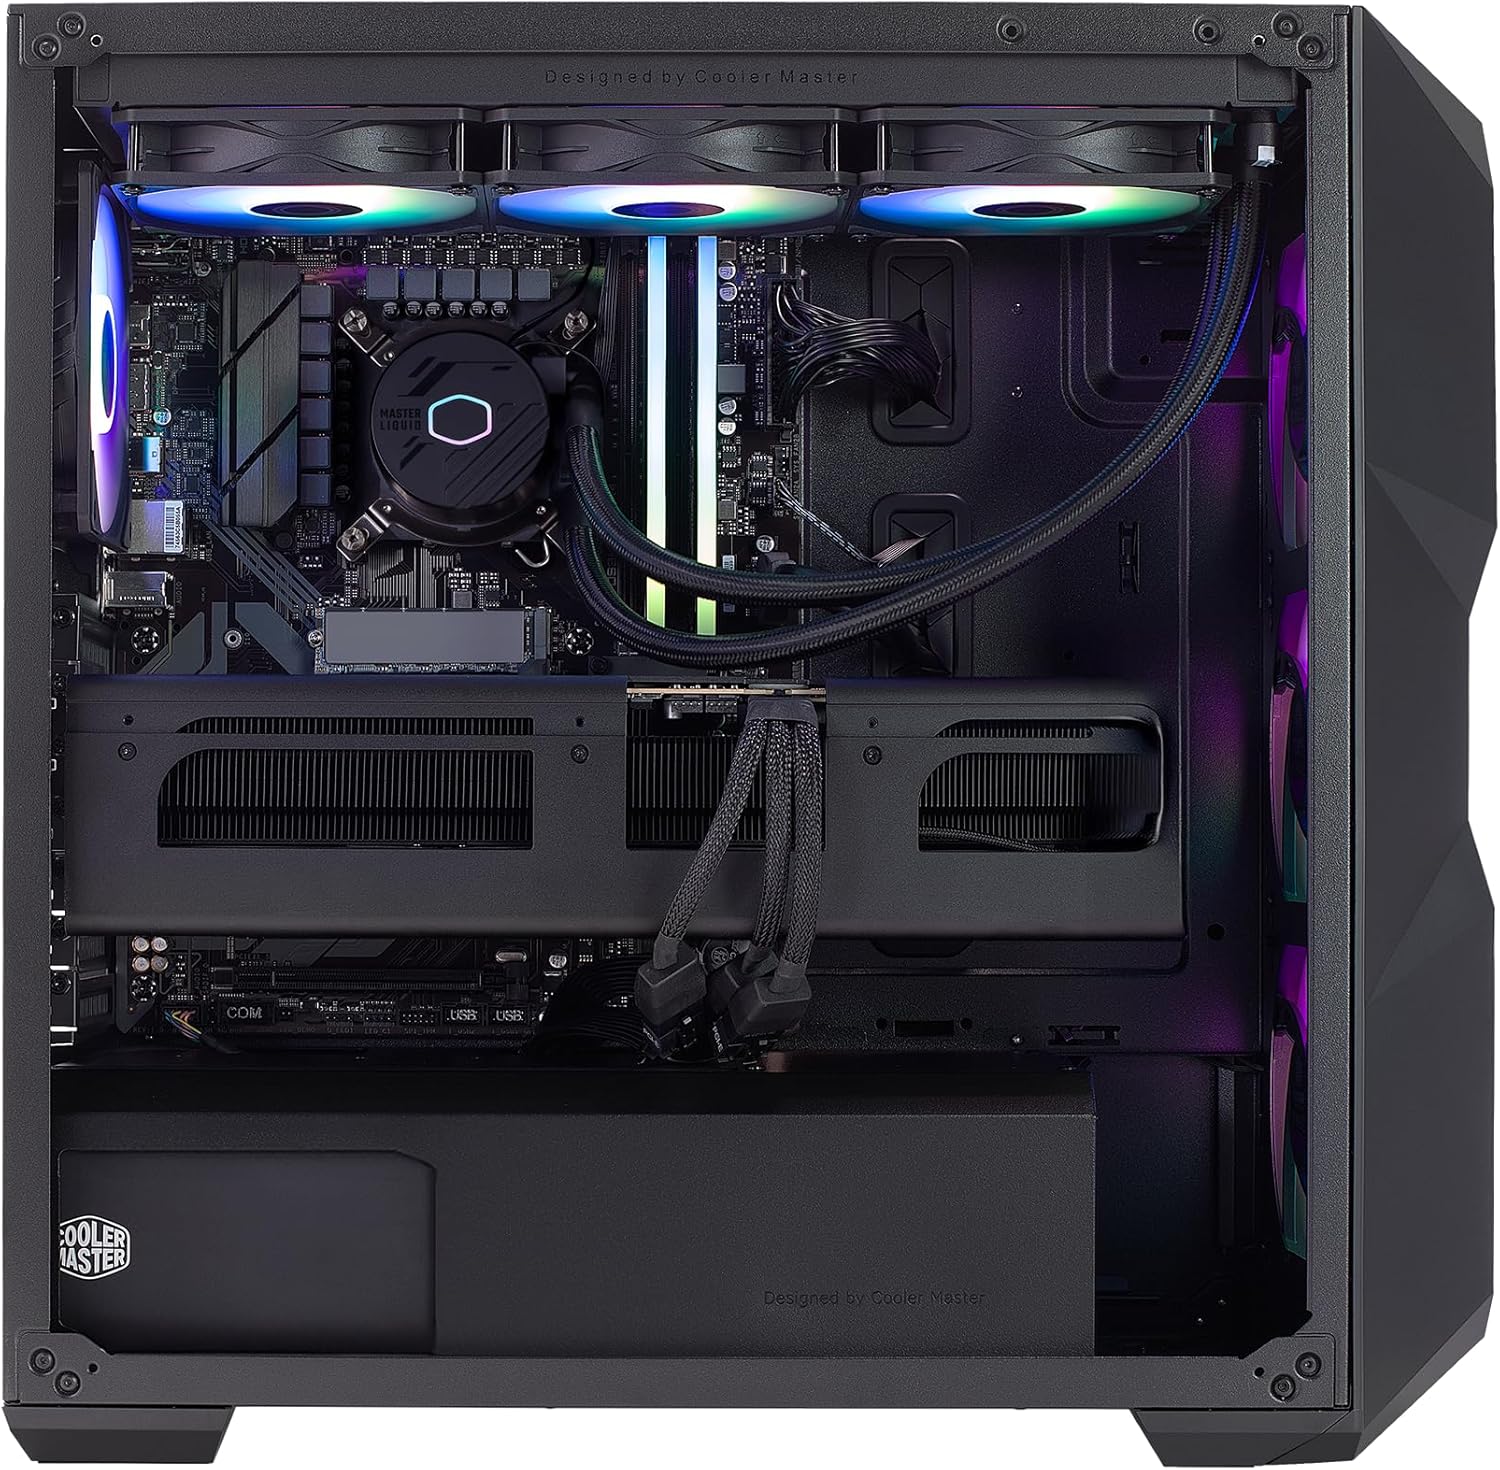
படம்: உட்புறம் view of the PC, highlighting the liquid cooler, RAM, and graphics card.
4. இயக்க வழிமுறைகள்
4.1 முதல் துவக்கம் மற்றும் விண்டோஸ் அமைப்பு
- Press the power button located on the top of the PC case.
- Follow the on-screen instructions to complete the Windows 11 Home setup. This typically involves selecting your region, language, creating a user account, and connecting to a network.
- Once Windows is set up, ensure all drivers are installed and updated. You can check for updates via Windows Update or by visiting the Cooler Master and component manufacturer webதளங்கள்.
4.2 முக்கிய அம்சங்கள் மற்றும் செயல்திறன்
- செயலி: Intel Ultra 9 285K 3.7GHz (5.7 GHz Turbo) 24-Core (8 P-cores + 16 E-cores) for exceptional multitasking and gaming performance.
- கிராபிக்ஸ்: NVIDIA RTX 5090 32GB for stunning visuals, high frame rates, and AI acceleration in games and creative applications.
- நினைவகம்: 64GB (2x32GB) DDR5 6000MHz RGB RAM with heatsink for blazing speed and vibrant lighting.
- சேமிப்பு: 2TB Gen4 M.2 SSD for high-speed data access and rapid application loading.
- குளிர்ச்சி: 360L Liquid Cooler with a Gen S Dual Chamber Pump for superior thermal management.
- மின்சாரம்: V Platinum 1100 V2 80+ Platinum Efficiency Power Supply for stable and efficient power delivery.

Image: The NVIDIA RTX 5090 graphics card, a core component for high-performance visuals.
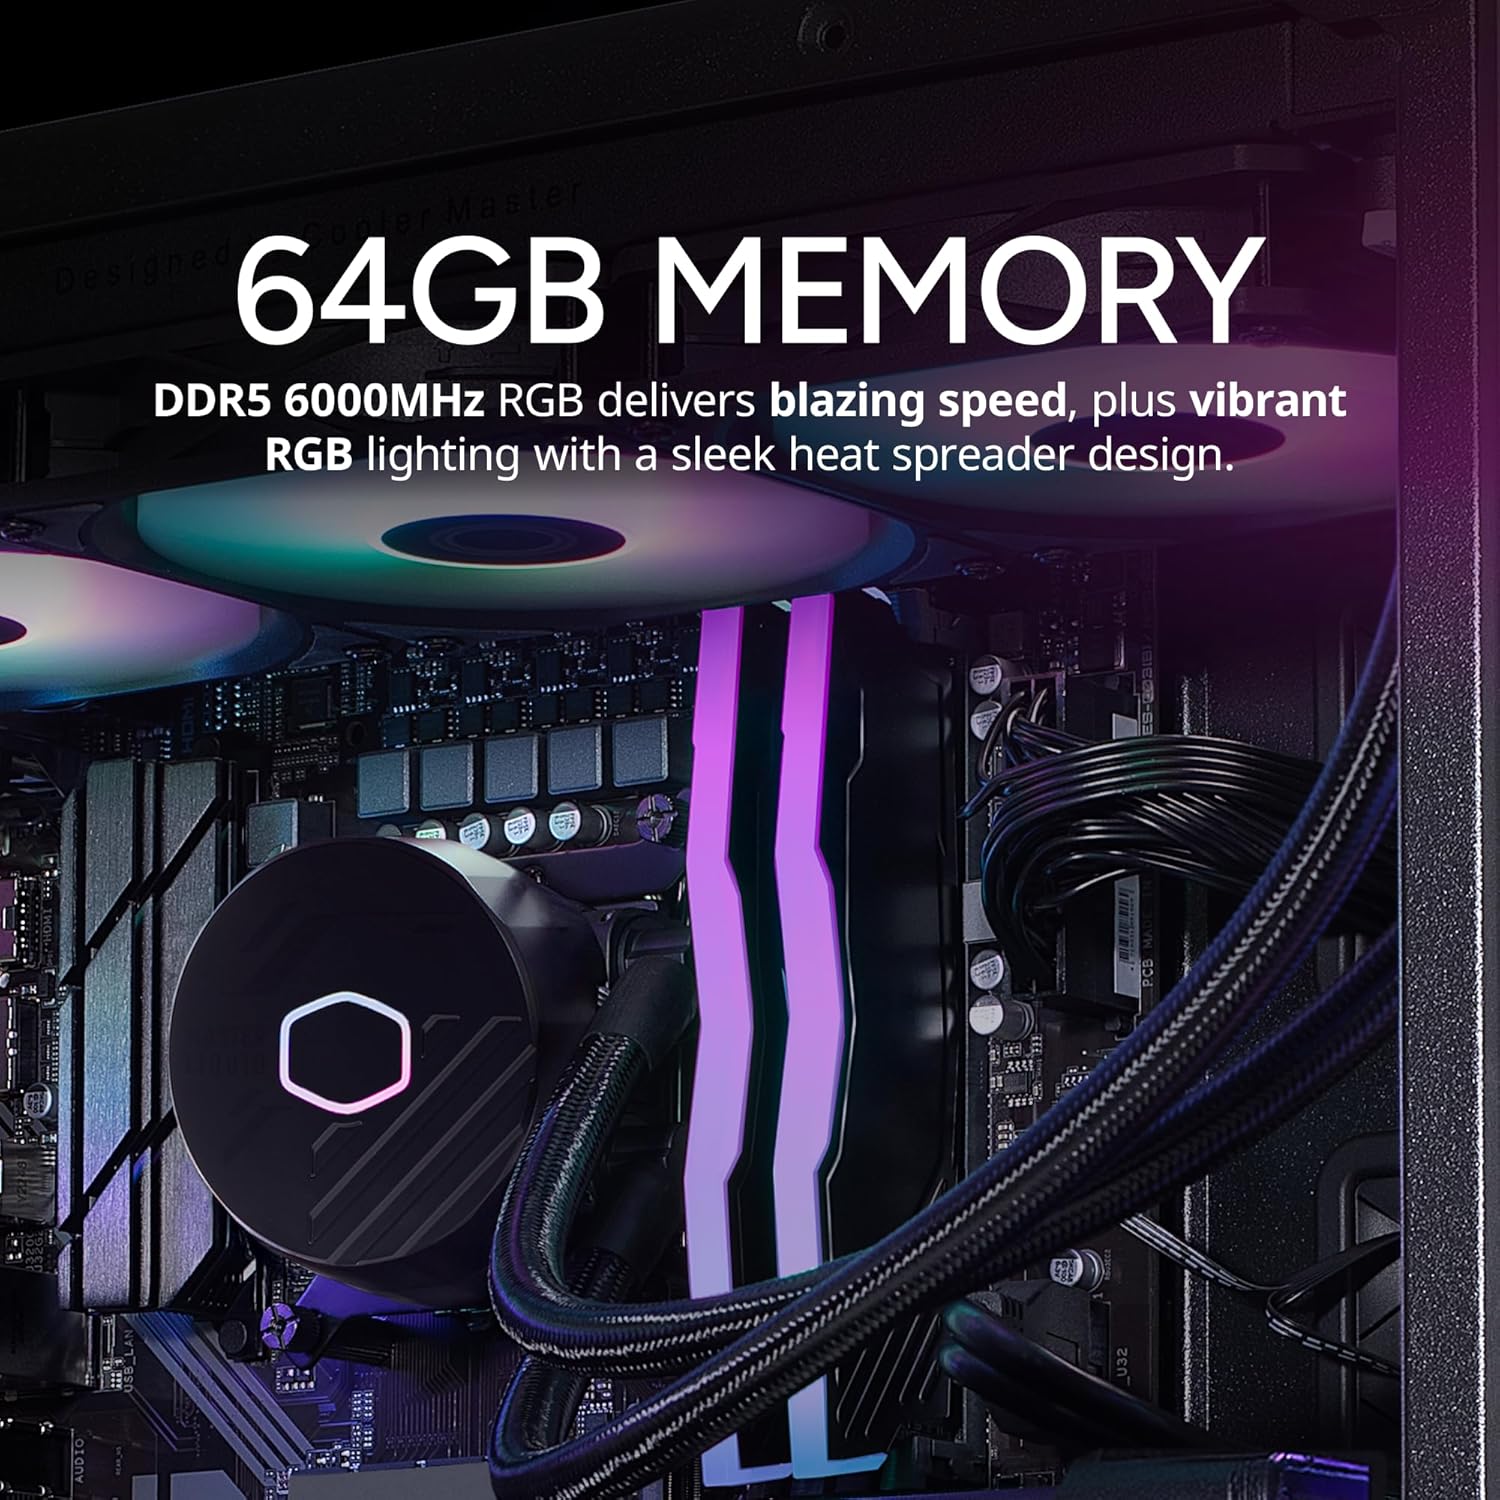
Image: The 64GB DDR5 6000MHz RGB RAM modules with heatsinks.
5. பராமரிப்பு
5.1 சுத்தம் செய்தல்
- வெளிப்புறம்: ஒரு மென்மையான, டி பயன்படுத்தவும்amp cloth to clean the exterior of the case. Avoid abrasive cleaners.
- தூசி வடிகட்டிகள்: Regularly clean the dust filters (if present) on the case to maintain optimal airflow.
- உள் கூறுகள்: Periodically use compressed air to remove dust from internal components, especially fans and heatsinks. Ensure the PC is powered off and unplugged before cleaning.
5.2 மென்பொருள் புதுப்பிப்புகள்
- கணினி நிலைத்தன்மை மற்றும் பாதுகாப்பை உறுதி செய்ய விண்டோஸ் புதுப்பிப்புகளை தவறாமல் சரிபார்த்து நிறுவவும்.
- Update graphics drivers (NVIDIA GeForce Experience) and motherboard drivers (Gigabyte website) for optimal performance and compatibility.

Image: The 360L liquid cooler, essential for maintaining CPU temperatures.
6. சரிசெய்தல்
6.1 சக்தி இல்லை
- மின் கேபிள் PC மற்றும் சுவர் அவுட்லெட் இரண்டிலும் பாதுகாப்பாக இணைக்கப்பட்டுள்ளதா என்பதை உறுதிப்படுத்திக் கொள்ளுங்கள்.
- Check the power switch on the PSU at the rear of the PC; it should be in the 'ON' position.
- Test the outlet with another device to confirm it is functional.
6.2 காட்சி இல்லை
- Verify that the monitor is powered on and the video cable is securely connected to the graphics card (RTX 5090) and the monitor.
- Ensure the monitor input source is correctly selected.
- If using multiple monitors, try connecting only one to isolate the issue.
6.3 கணினி உறுதியற்ற தன்மை அல்லது செயலிழப்புகள்
- Ensure all drivers (graphics, chipset, etc.) are up to date.
- Monitor system temperatures using software utilities to check for overheating.
- Run a memory diagnostic tool to check for RAM issues.
7. விவரக்குறிப்புகள்
| கூறு | விவரக்குறிப்பு |
|---|---|
| பிராண்ட் | கூலர் மாஸ்டர் |
| தொடர் | டிடி5 ப்ரோ |
| மாதிரி எண் | AYG-M6C9-N69GIA32-N1 |
| இயக்க முறைமை | விண்டோஸ் 11 முகப்பு |
| செயலி | Intel Ultra 9 285K (3.7 GHz, 5.7 GHz Turbo, 24-Core) |
| கிராபிக்ஸ் கோப்ராசசர் | NVIDIA RTX 5090 32GB |
| ரேம் | 64GB DDR5 6000MHz |
| சேமிப்பு | 2TB Gen4 M.2 SSD |
| பவர் சப்ளை | V Platinum 1100 V2 80+ Platinum Efficiency |
| குளிர்ச்சி | 360L Liquid Cooler |
| வயர்லெஸ் இணைப்பு | 802.11a/b/g/n/ac Wi-Fi, Bluetooth |
| USB போர்ட்கள் | 7x USB 3.0, 1x Type-C, 2x USB 3.2 Gen 2 Type-C |
| வீடியோ வெளியீடுகள் | 1x HDMI, 2x டிஸ்ப்ளே போர்ட் |
| பரிமாணங்கள் (LxWxH) | 19.7 x 8.3 x 19.7 அங்குலம் |
| எடை | 38 பவுண்டுகள் |

Image: The V Platinum 1100 V2 80+ Platinum Efficiency Power Supply.
8. உத்தரவாதம் மற்றும் ஆதரவு
Your Cooler Master TD5 Pro Gaming PC comes with a 1 ஆண்டு உதிரிபாகங்கள் & தொழிலாளர் உத்தரவாதம் மற்றும் வாழ்நாள் தொழில்நுட்ப ஆதரவு. இந்த உத்தரவாதமானது சாதாரண பயன்பாட்டின் கீழ் பொருட்கள் மற்றும் வேலைப்பாடுகளில் உள்ள குறைபாடுகளை உள்ளடக்கும்.
For technical assistance, troubleshooting, or warranty claims, please contact Cooler Master customer support. Refer to the documentation included with your PC for specific contact details or visit the official Cooler Master webதளம்.
அமெரிக்காவில் கூடியது


